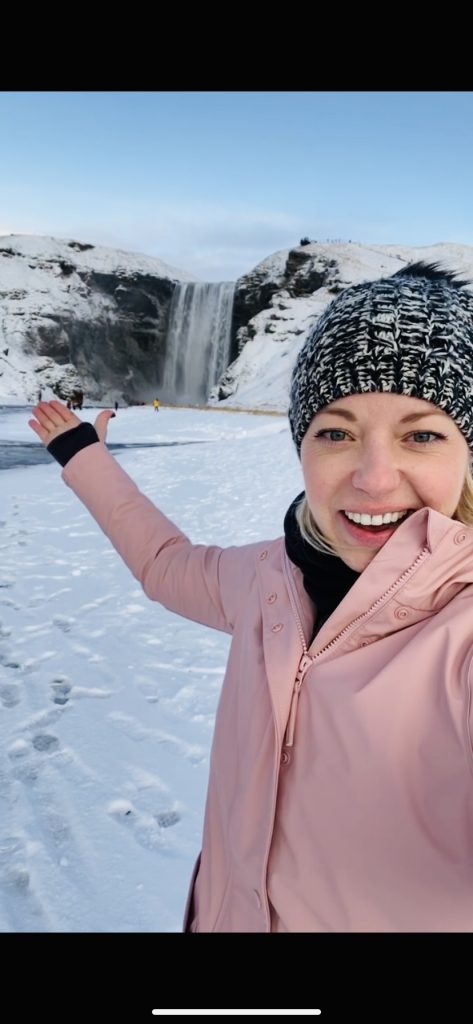
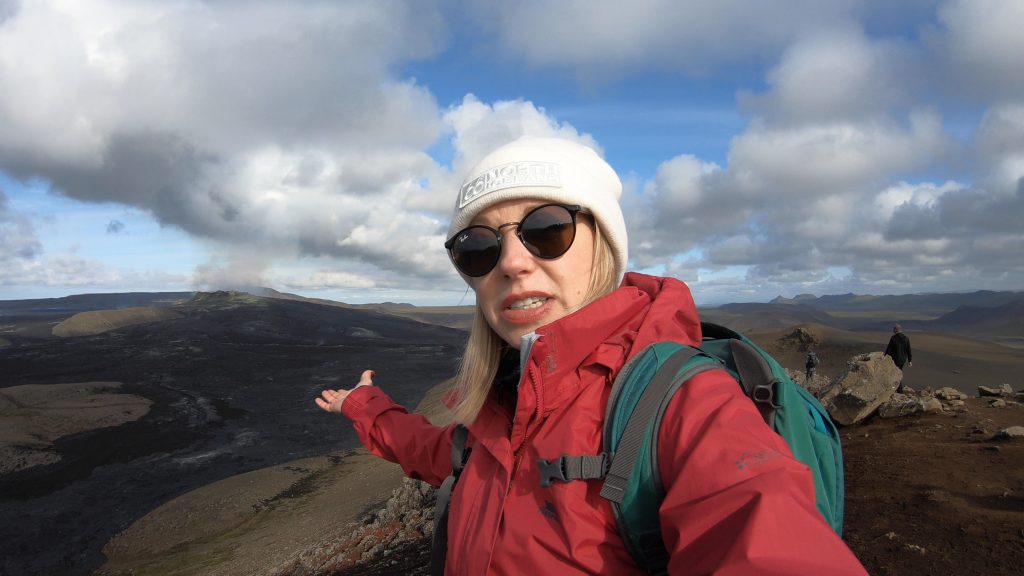
I’ve done some beautiful hikes in my life, but NOTHING compares to the Fimmvörðuháls hike.
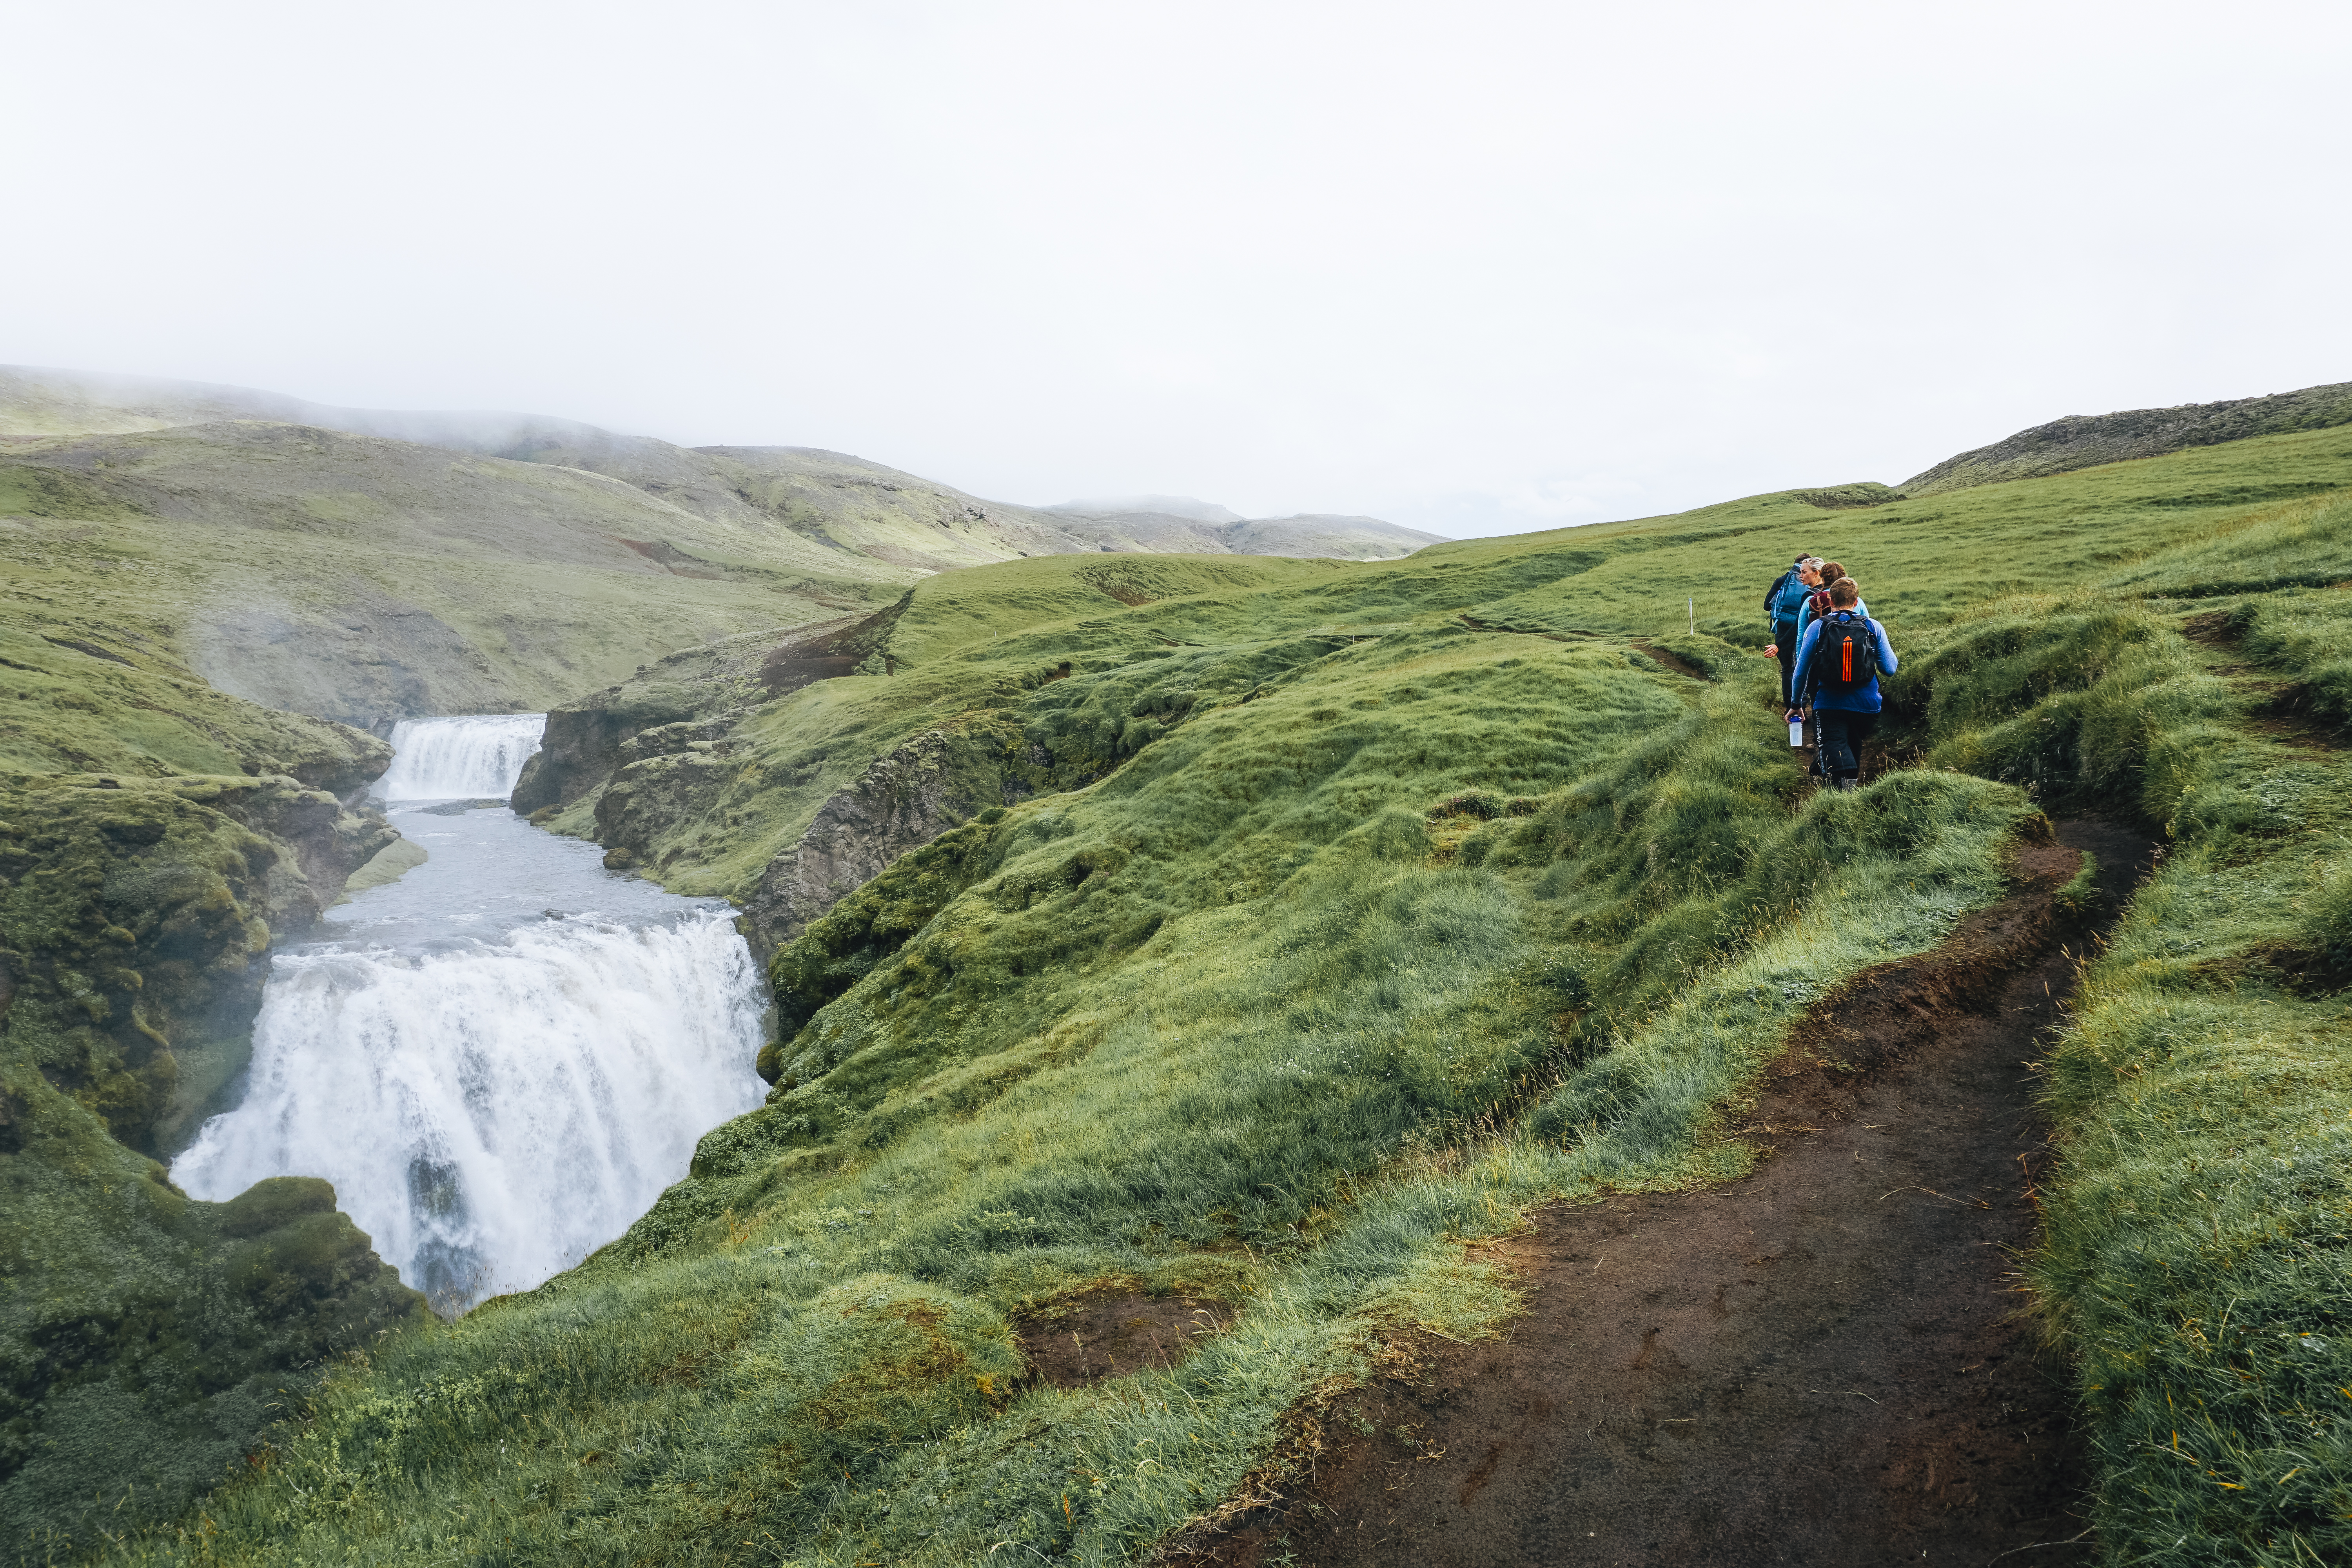
Fimmvörðuháls is a hiking trail that passes through the most dramatic scenery that Iceland has to offer – including countless waterfalls, glaciers, and volcanoes.
Starting at Skogafoss in South Iceland, the trail takes you along the Skogar river, and then between the Eyjafjallajokull and Myrdalsjokull glaciers before ending in Thorsmork. If that isn’t one impressive resume, I don’t know what is!
Fimmvörðuháls literally translates to five-cairn pass which is represented in the middle of the hike with the carin’s that help mark the trail.
I completed this glorious trek last summer in July 2016 and let me tell you, I was ready to do it again the very next weekend!
BUT this hike should not be taken lightly.
We had a pretty crazy experience actually – cramming what could be a 10-12 hour hike into 8 hours and some pretty harsh weather conditions.
Still, there’s nothing like the feeling of climbing through mountains with some of the best views in the country!
Read on for the ultimate guide to planning your Fimmvörðuháls trek.
Hike Details
- Distance: 25 km/13 miles
- Time: 8-12 hours (can be done in one day, or split into two days – read below)
- Difficulty level: challenging
- Elevation: 1068 meters/3504 feet
- Contents: 26 waterfalls, 2 volcanoes, 2 glaciers
- Starting point: Skogafoss waterfall
- Ending point: Thorsmork (obviously you can also complete this the opposite direction!)
When to go
Weather and highland access determines the availability for this hike. Often times there is still snow along the trail, making for unsafe conditions. The best time to hikeFimmvörðuháls is June through early September.
However, don’t let the whole “middle of summer” thing fool you. Temperatures in the highlands are always colder than the coast, so you can expect around 40°F (5°C).
Before you start the trek, make sure to check the weather for Fimmvörðuháls.
How to get there
Most people will start by camping overnight at Skogafoss, which I would suggest doing.
We decided to make the round trip from Reykjavik.
This is where things get surprisingly tricky.
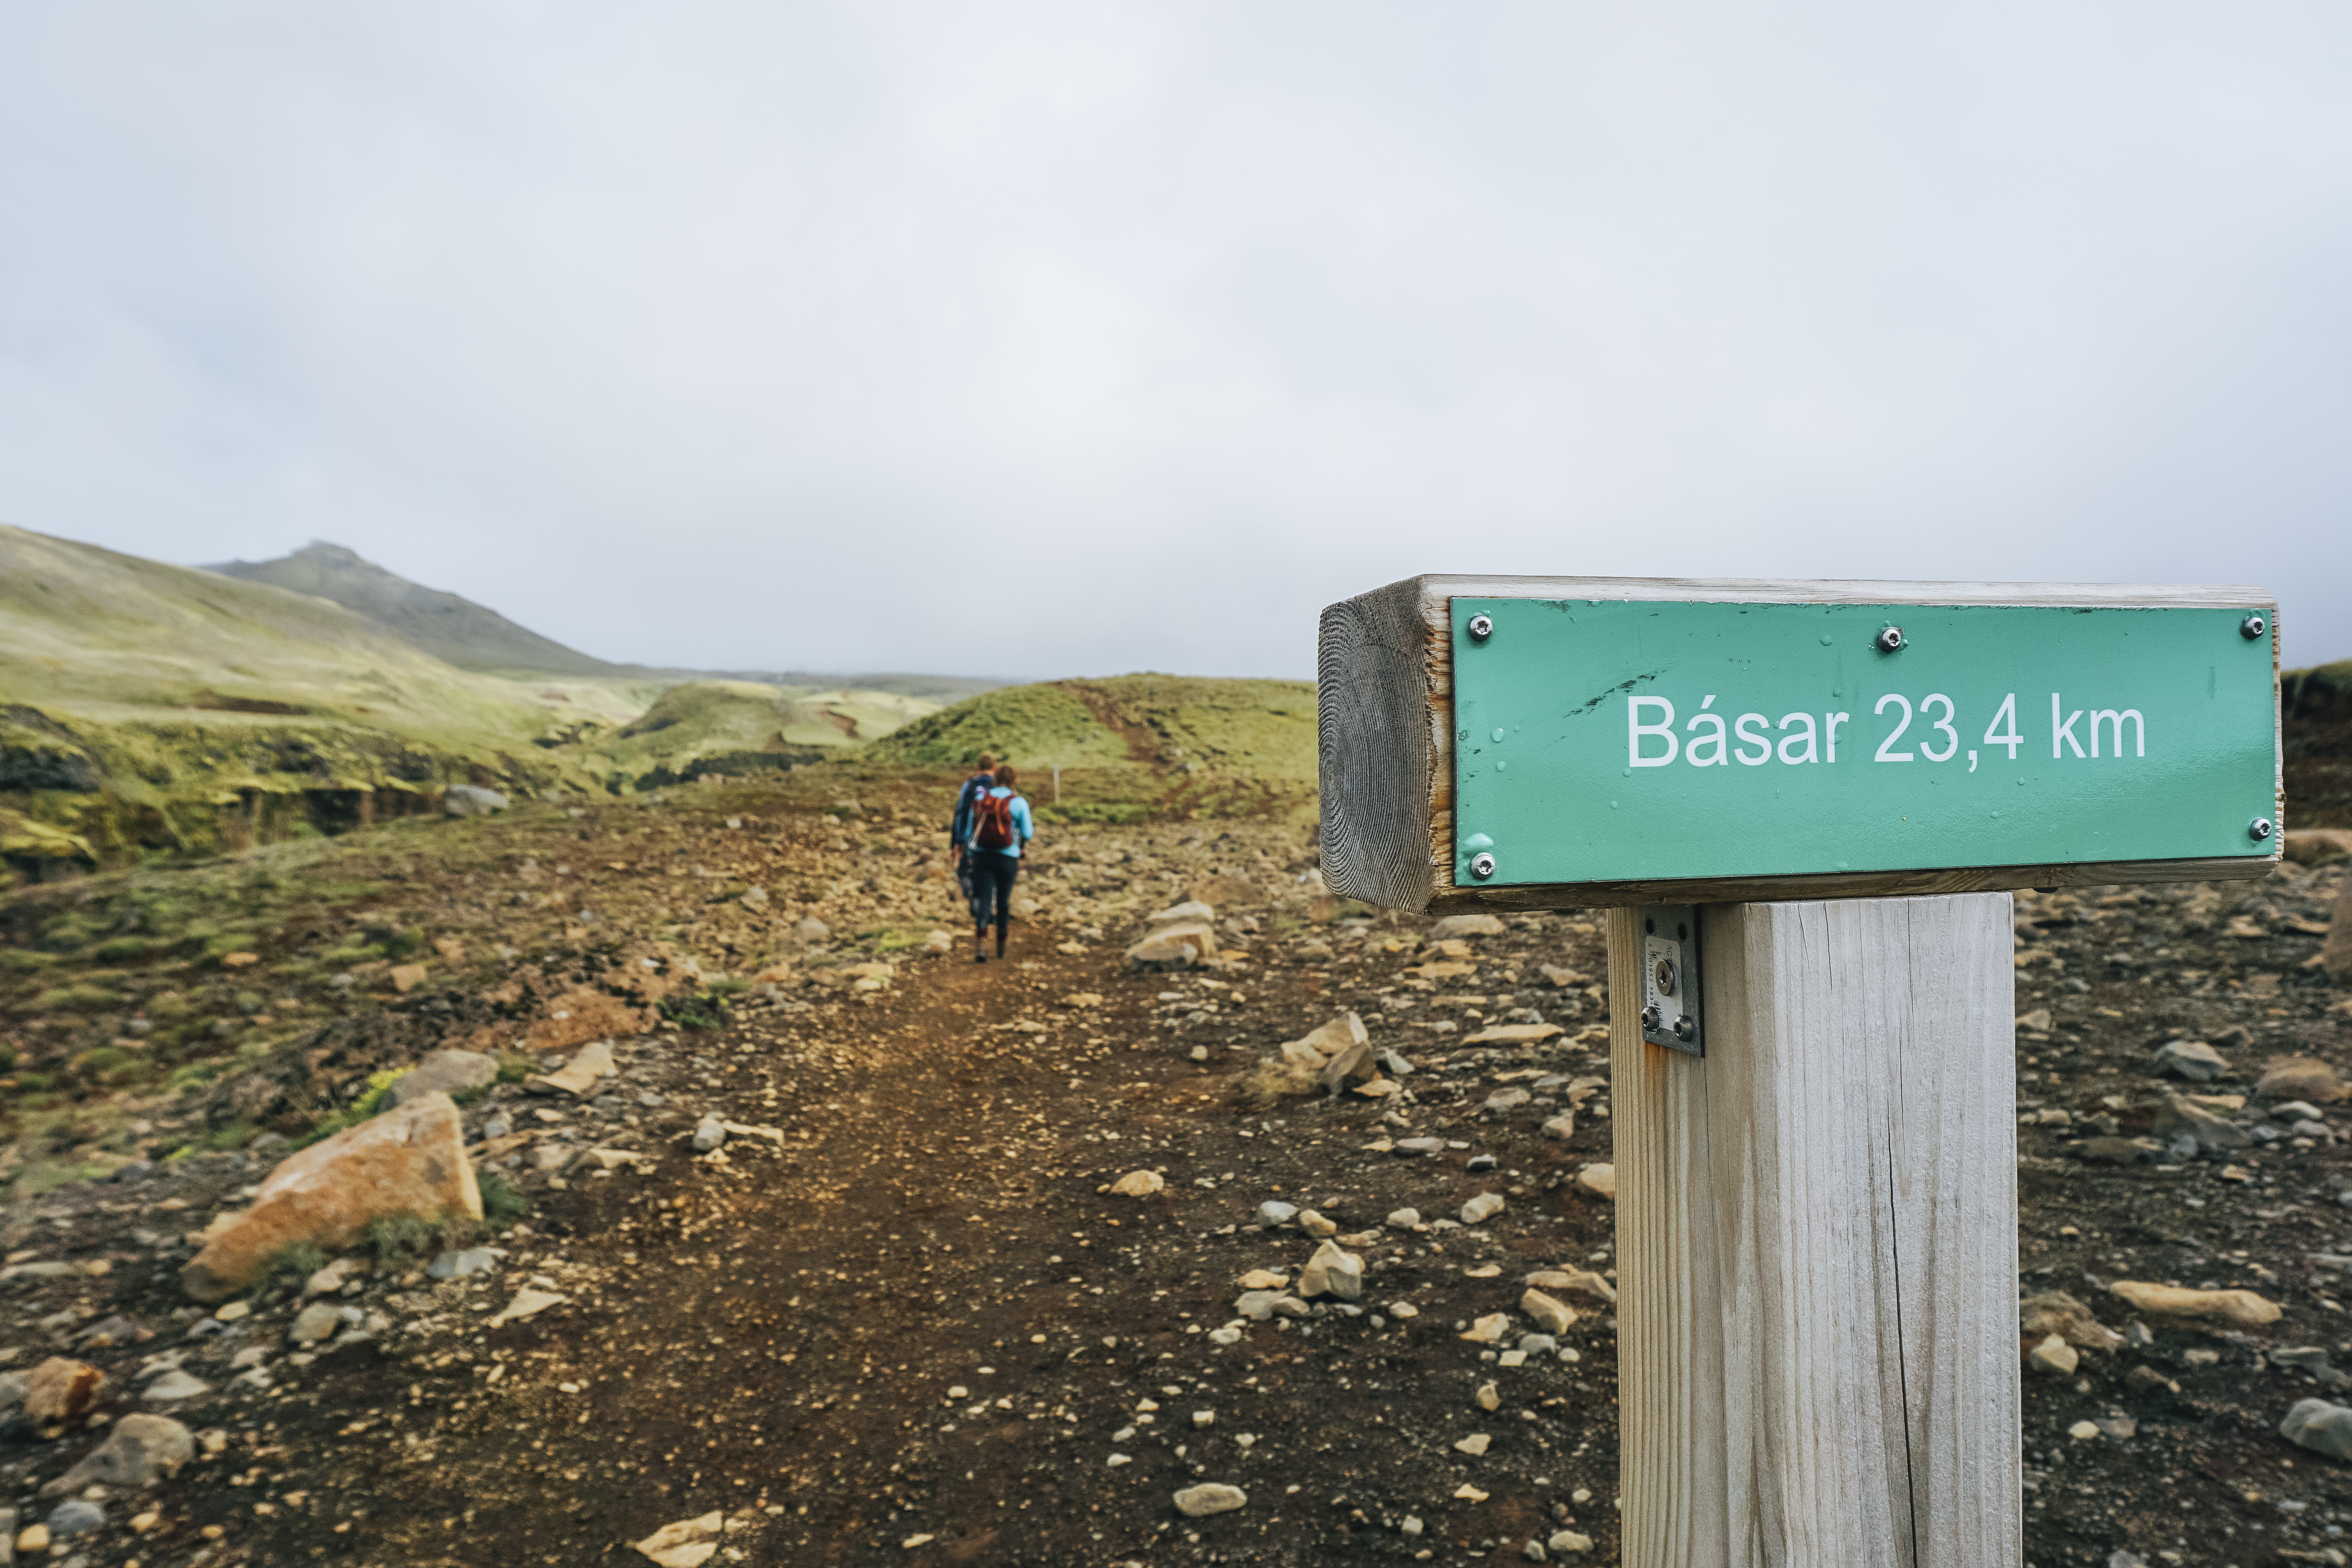
The hike starts at Skogafoss, but the busses that take you out of Thorsmork ONLY drop off at Seljalandsfoss, which is 30 minutes away.
Our solution was to take two vehicles, meet at Seljalandsfoss, and then drive together to Skogafoss.
We left Reykjavik at 7am and started the hike by 10:30. The plan was to be at Basar by 6pm for which we had pre-purchased our tickets.
(Another option is to check the Reykjavik Excursions bus schedule going from a) Þórsmörk to Seljalandsfoss and then b) Seljalandsfoss to Skógar, get your vehicle and drive back home to Reykjavík/continue on the Ring Road.)
Lastly, I suppose hitchhiking is an option, but never a guarantee!
*Make sure to check the bus schedules BEFORE you start your hike! The last bus usually leaves at 8pm, so unless you want to stay overnight in Thorsmork, you need to have the hike completed by then. You can buy your tickets in advance or on the bus.
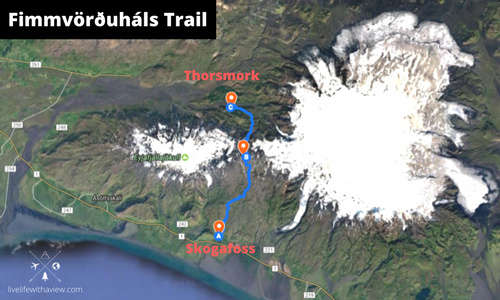
The Fimmvordurhals Trail
Part 1
If you love waterfalls then you will be in HEAVEN during the first leg of this hike! The trek along the Skoga river passes by TWENTY-SIX waterfalls through lush green hills. The walking is pretty moderate with the exception of a few steep peaks. During this part we stopped A LOT for photos and to admire the scenery.
Bonus: You can fill your water bottle with water from the river for the first 8km when hiking along Skógá river.
Halfway into the hike there’s a Mountain Hut with open space for 20 people (read: a shared room with small mattresses on the floor). Some people choose to stop here, some people are forced to because of weather. Note that there is no food or water in the hut.
Part 2
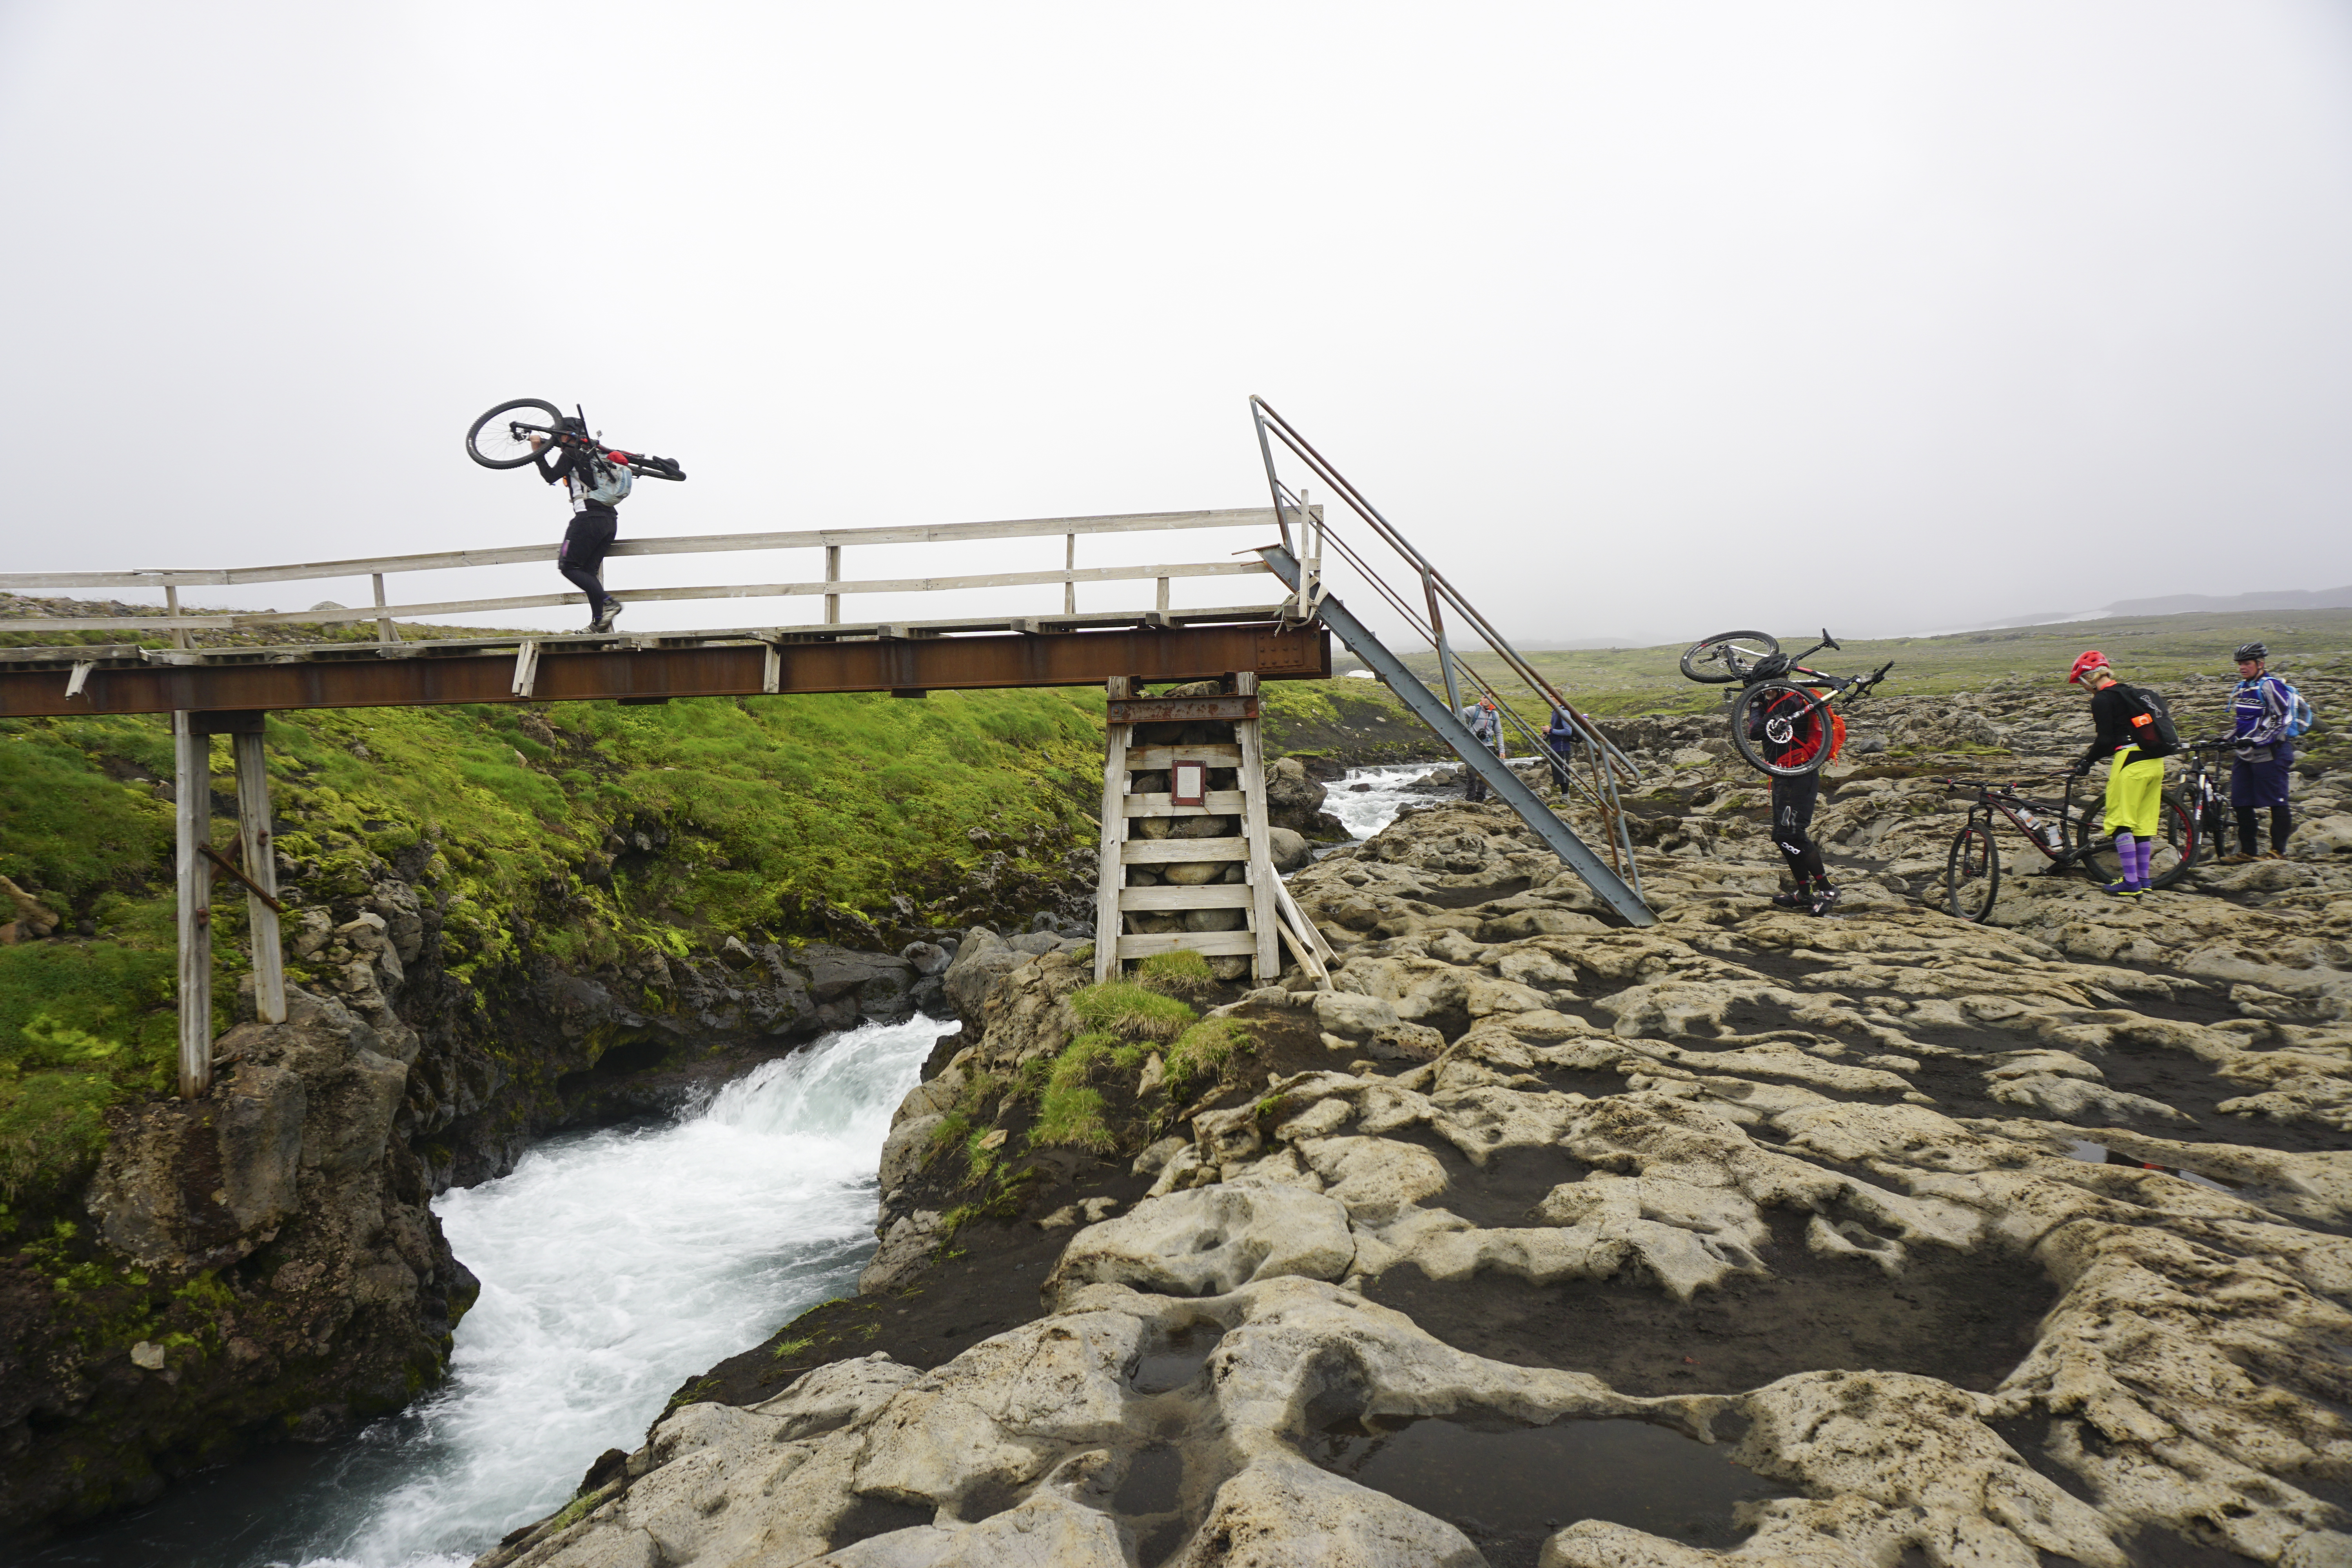
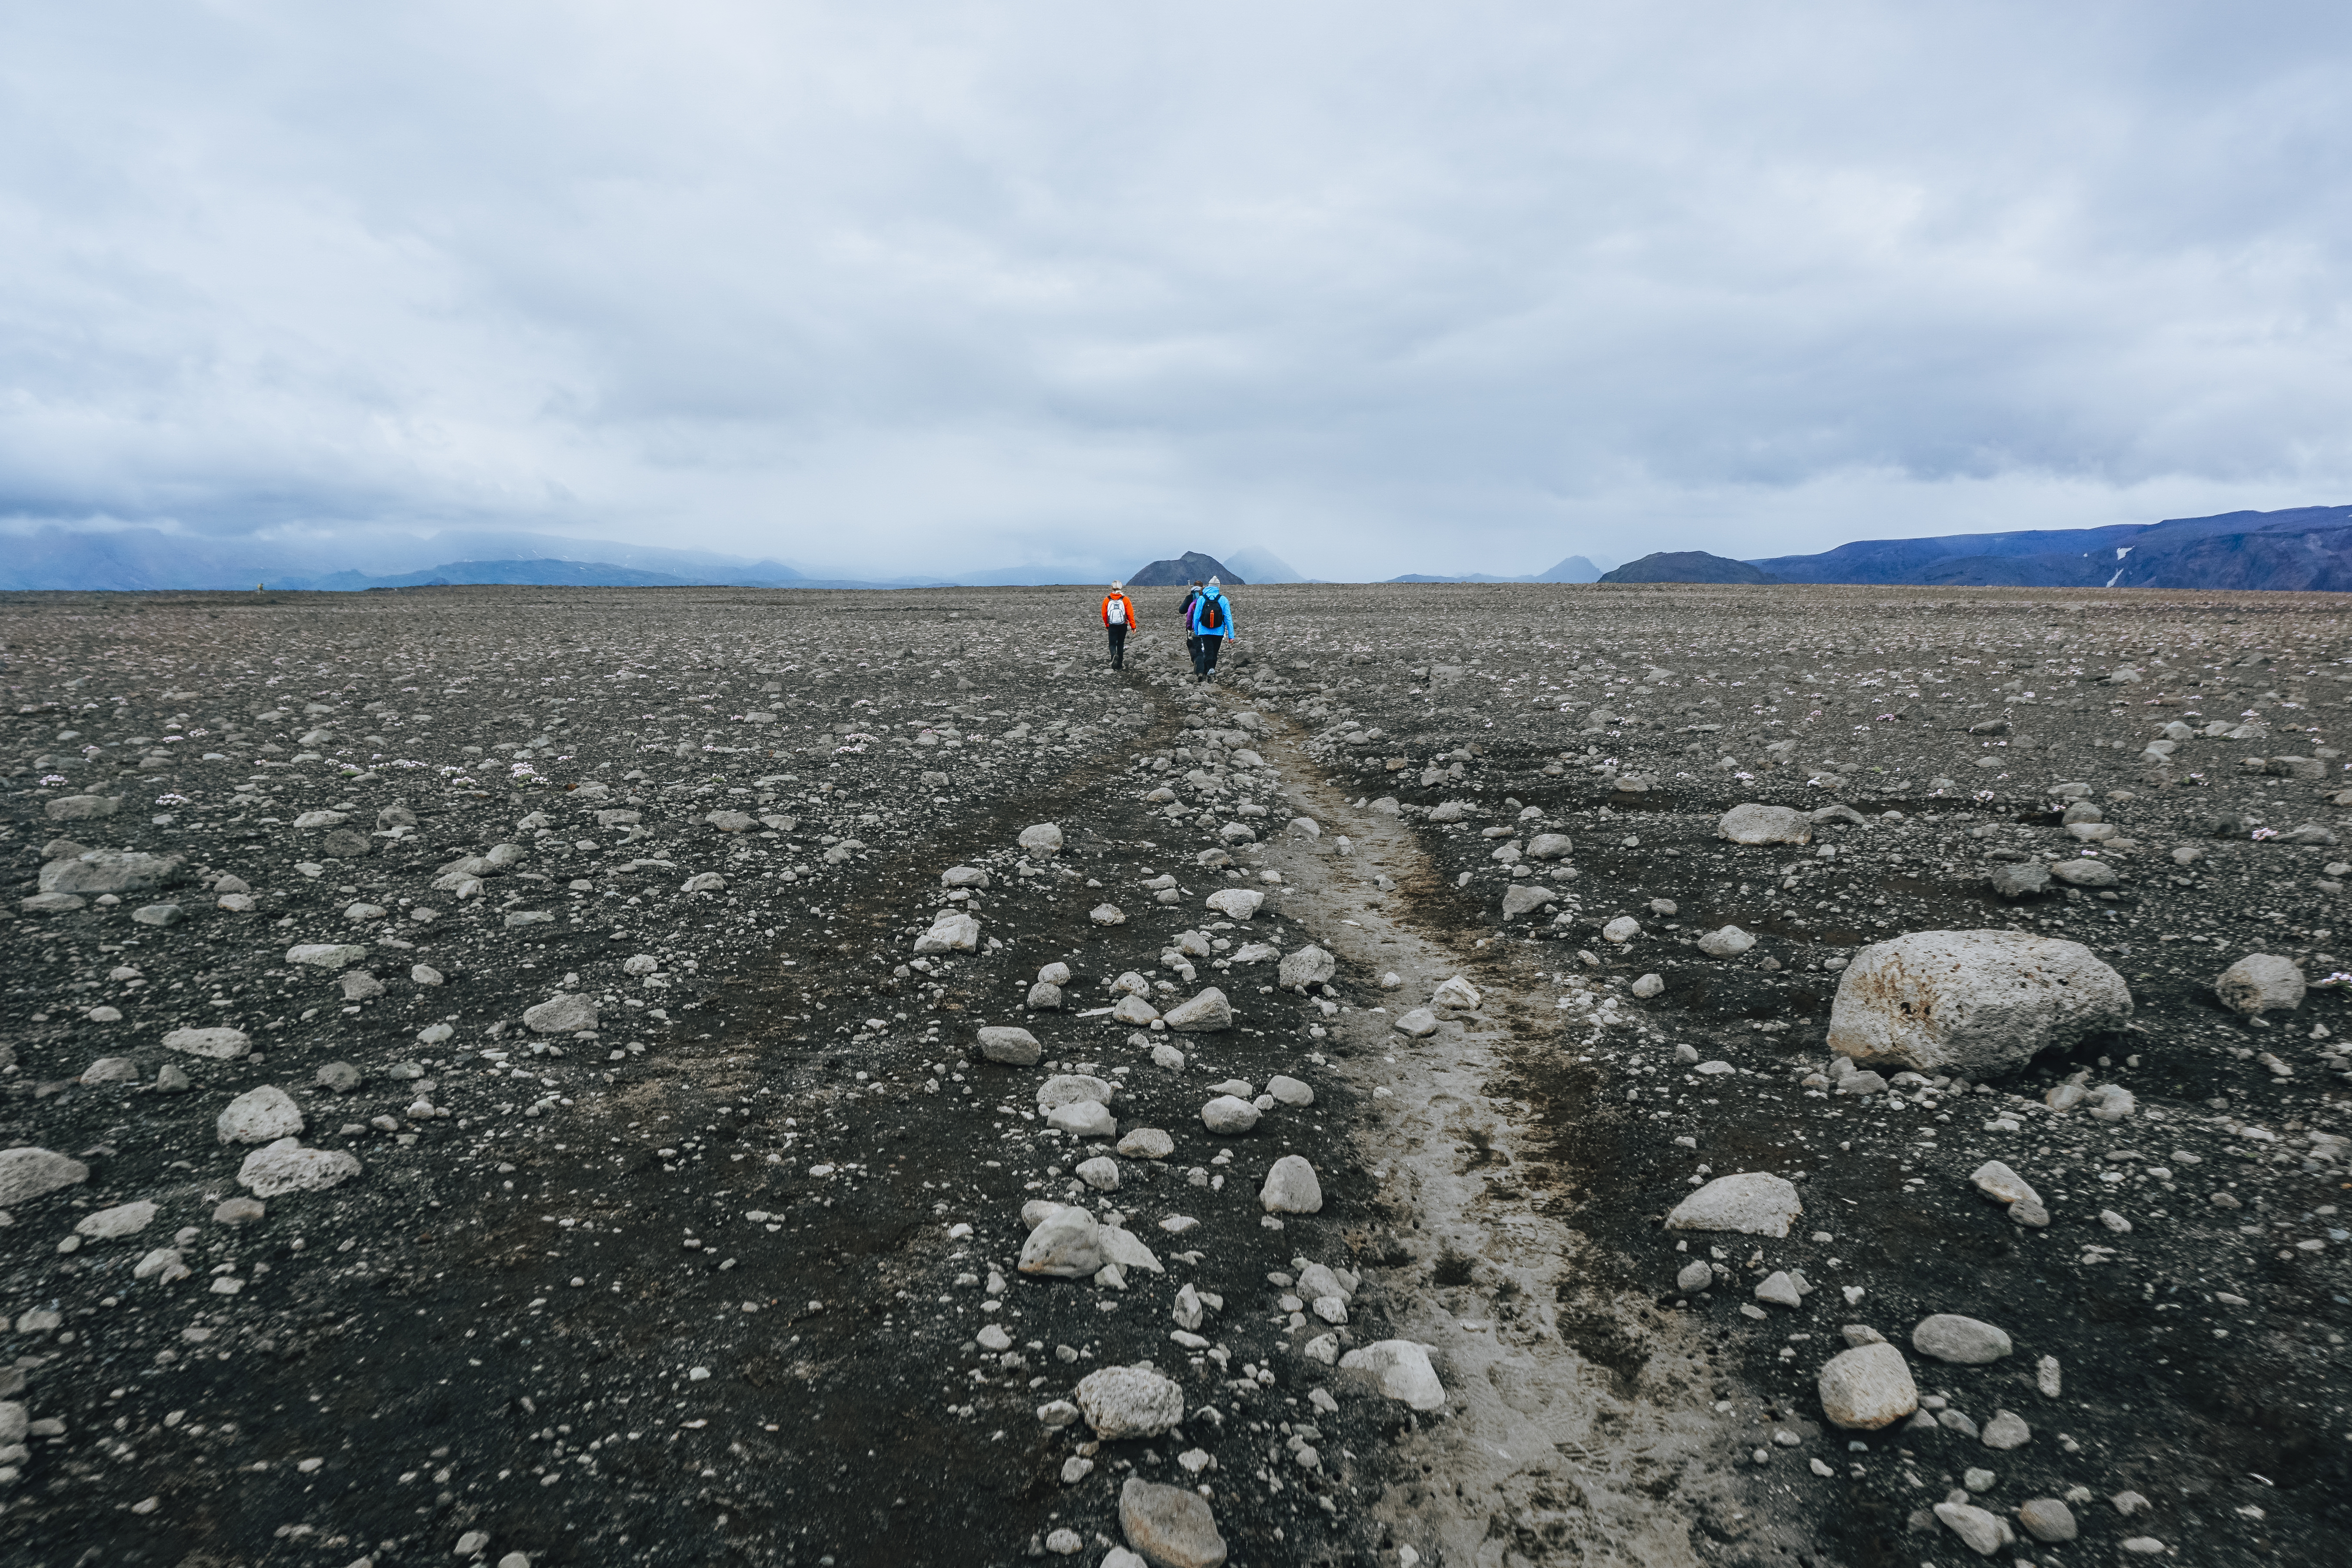
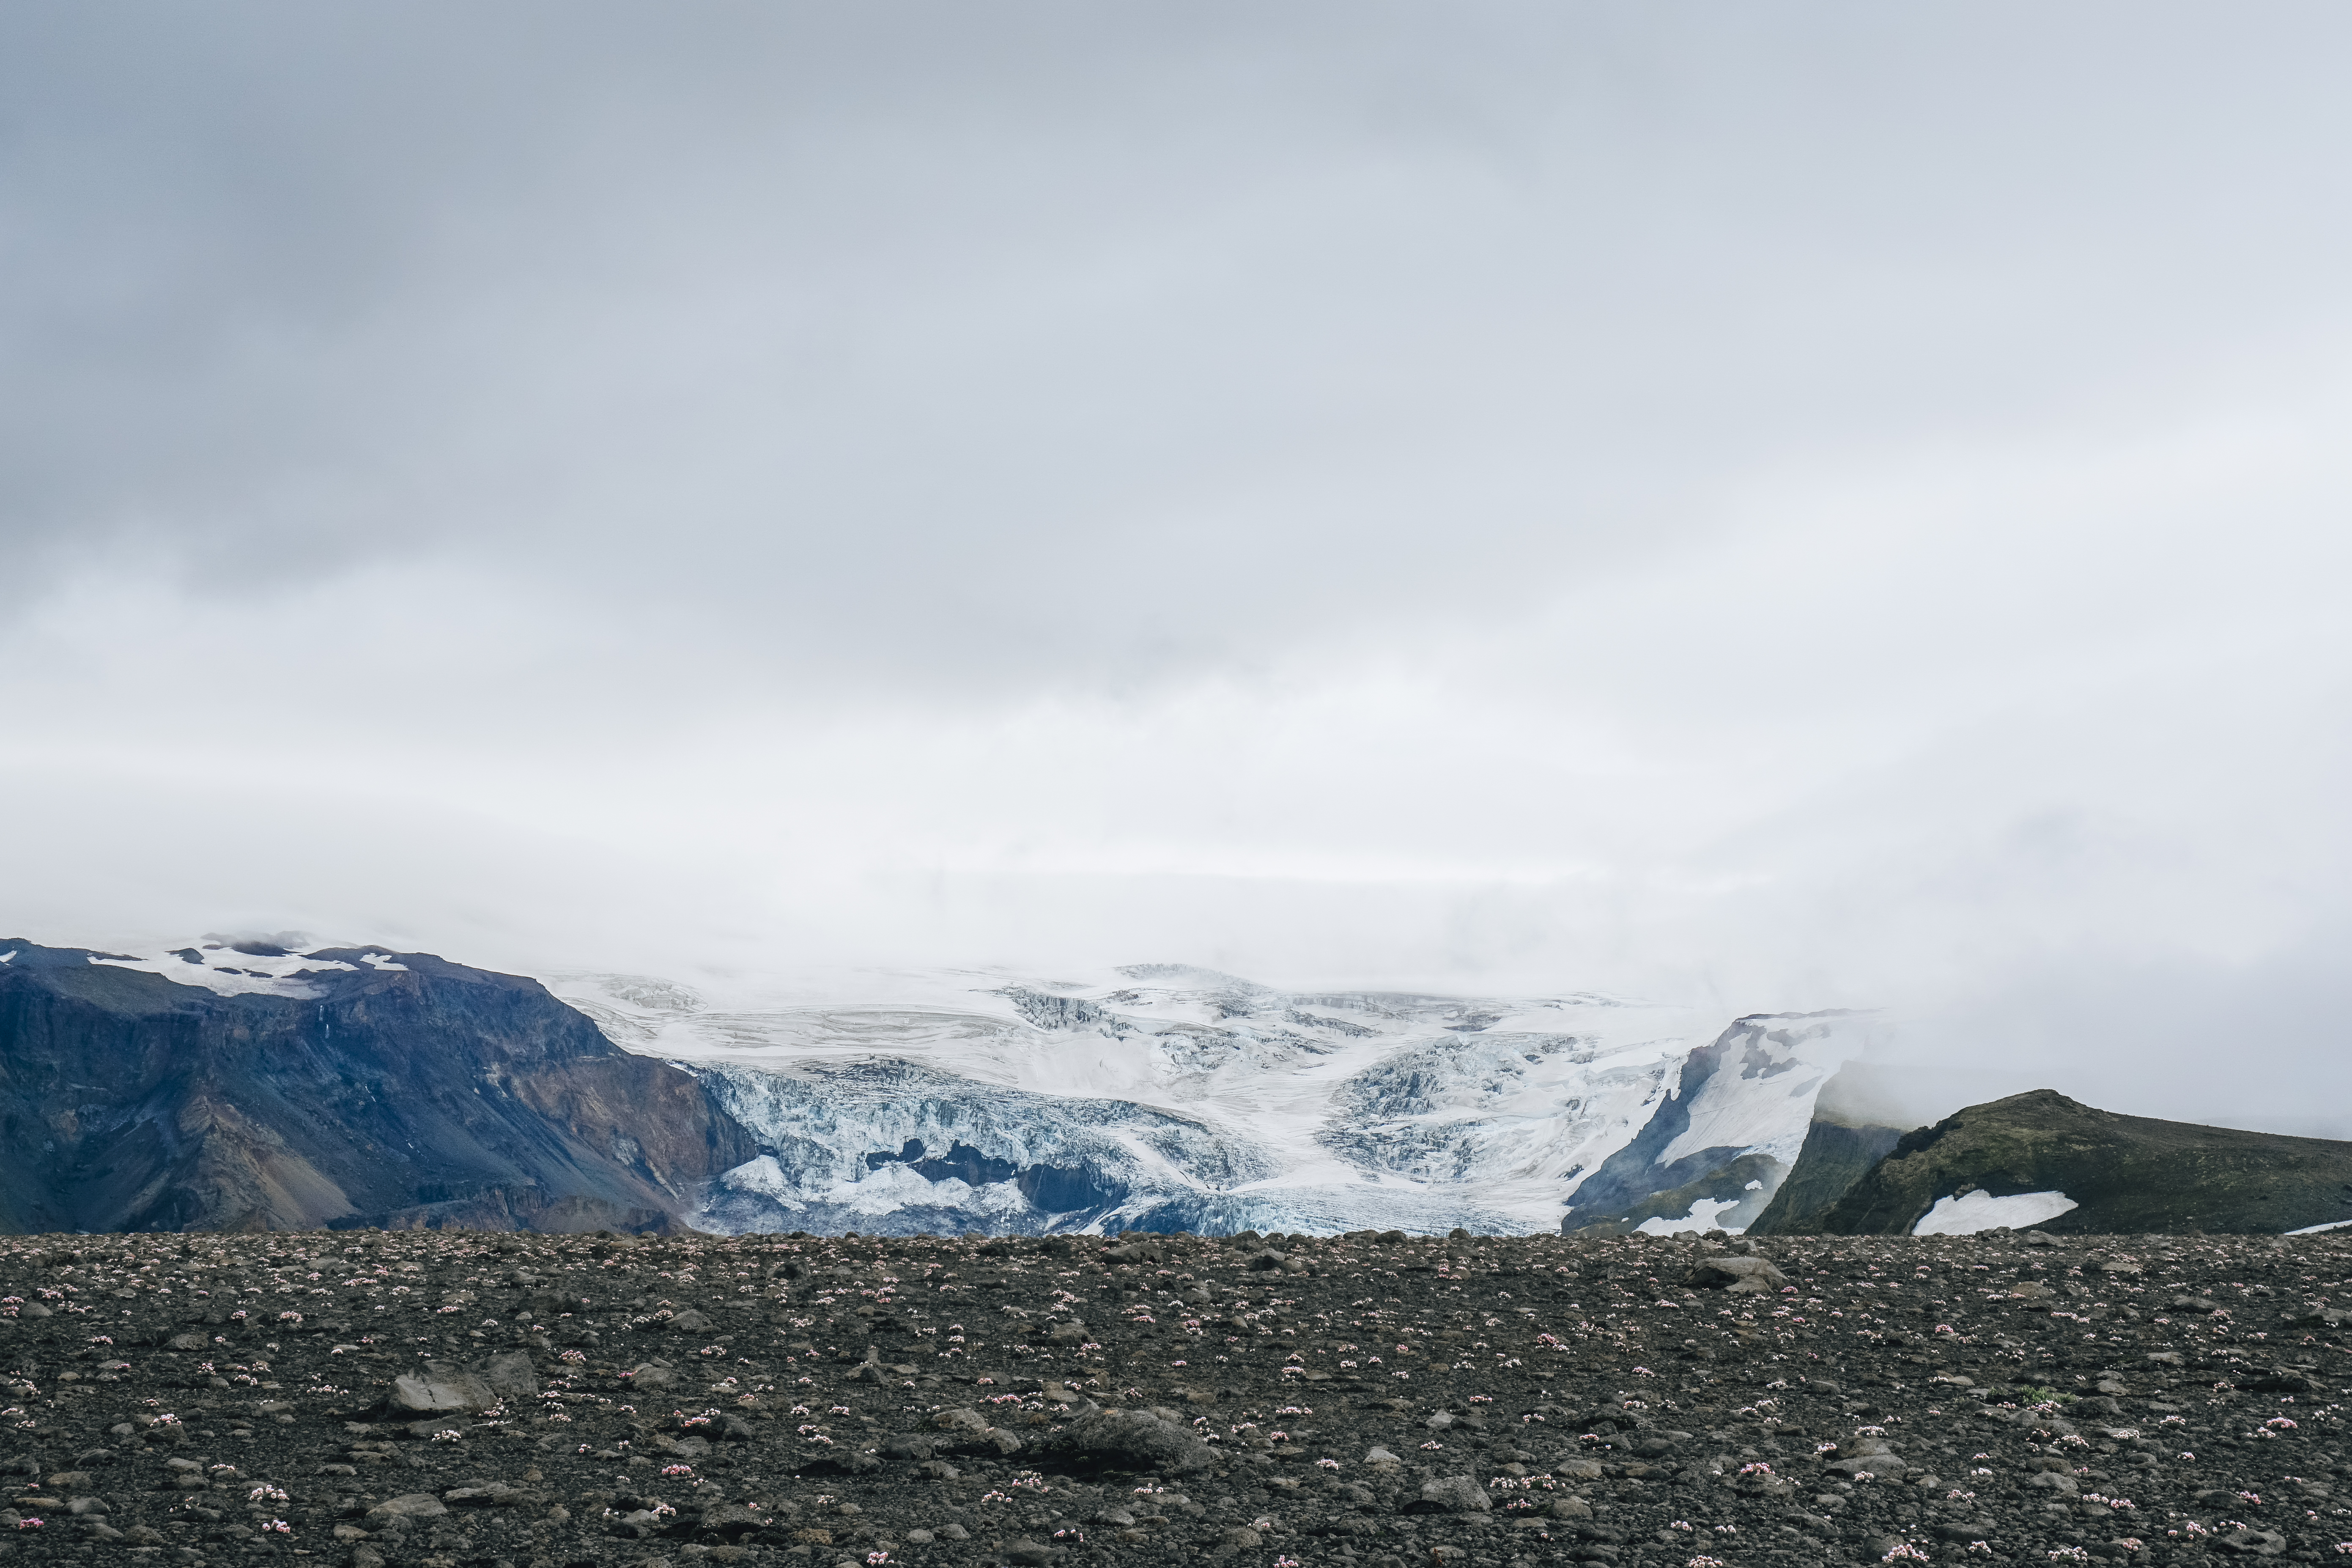
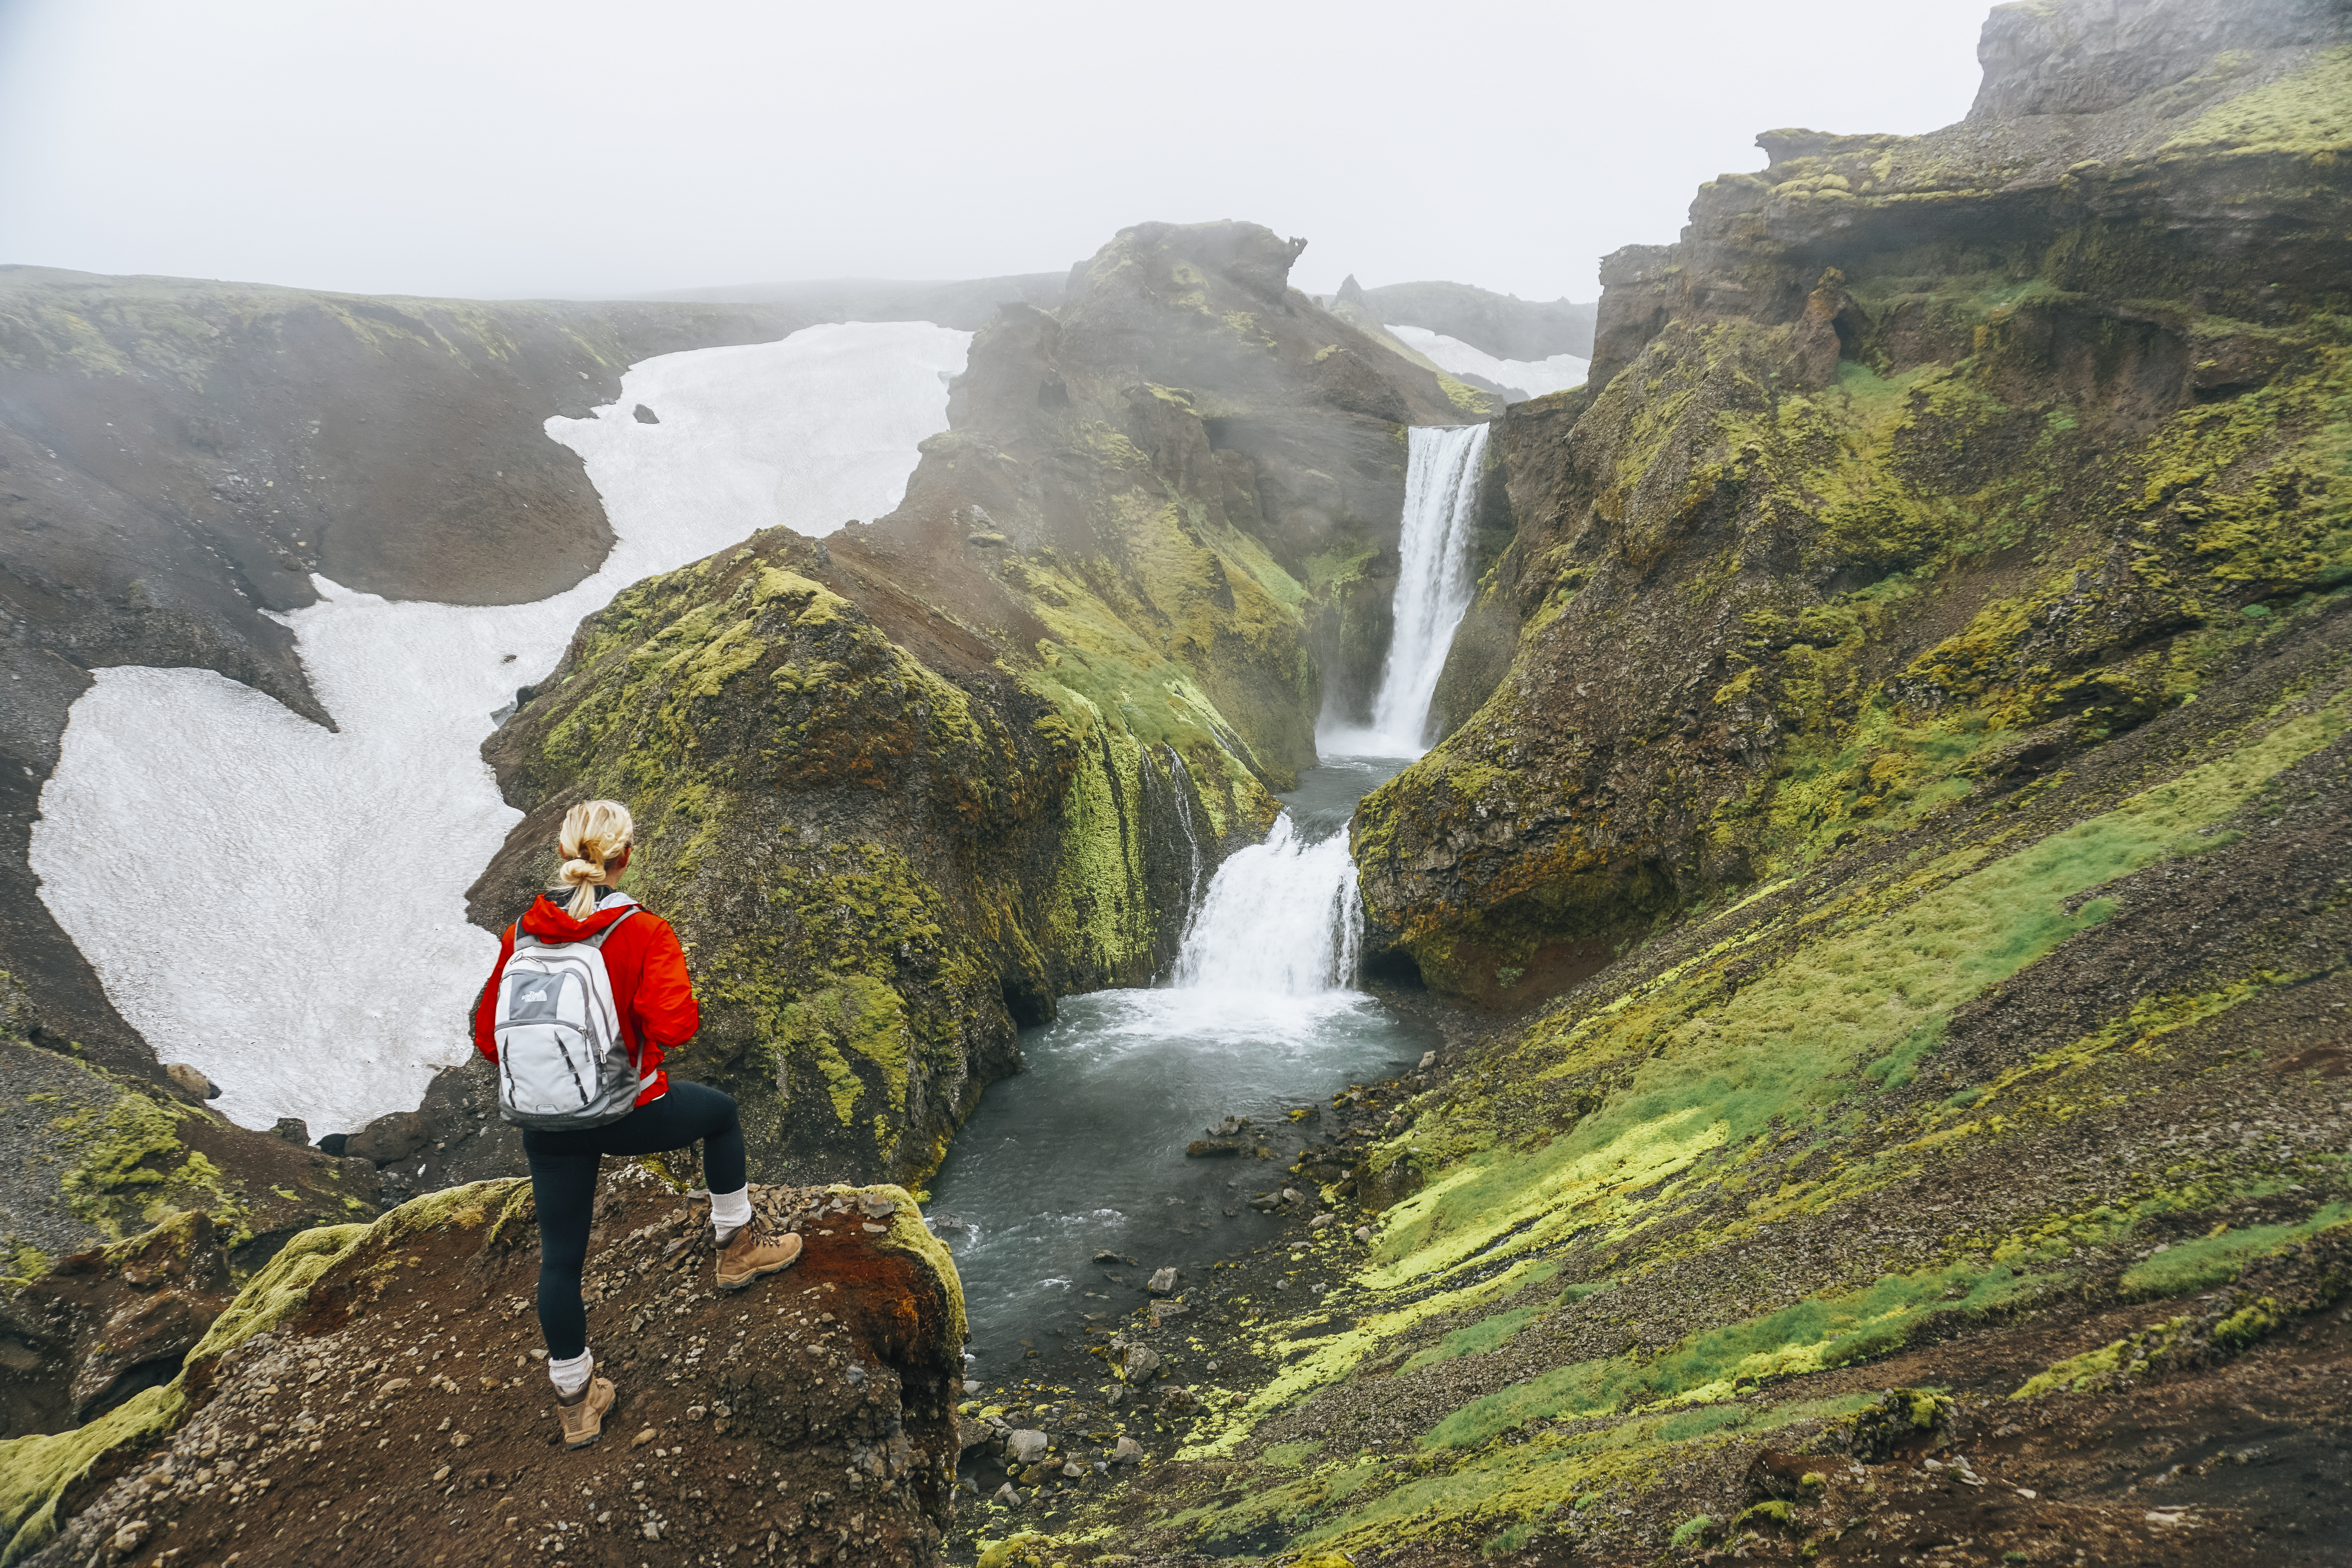
When you come to this bridge you will cross over the Skoga river and onto the moon-like landscape. This is where you will pass between the two glaciers Eyjafjallajökull and Mýrdalsjökull.
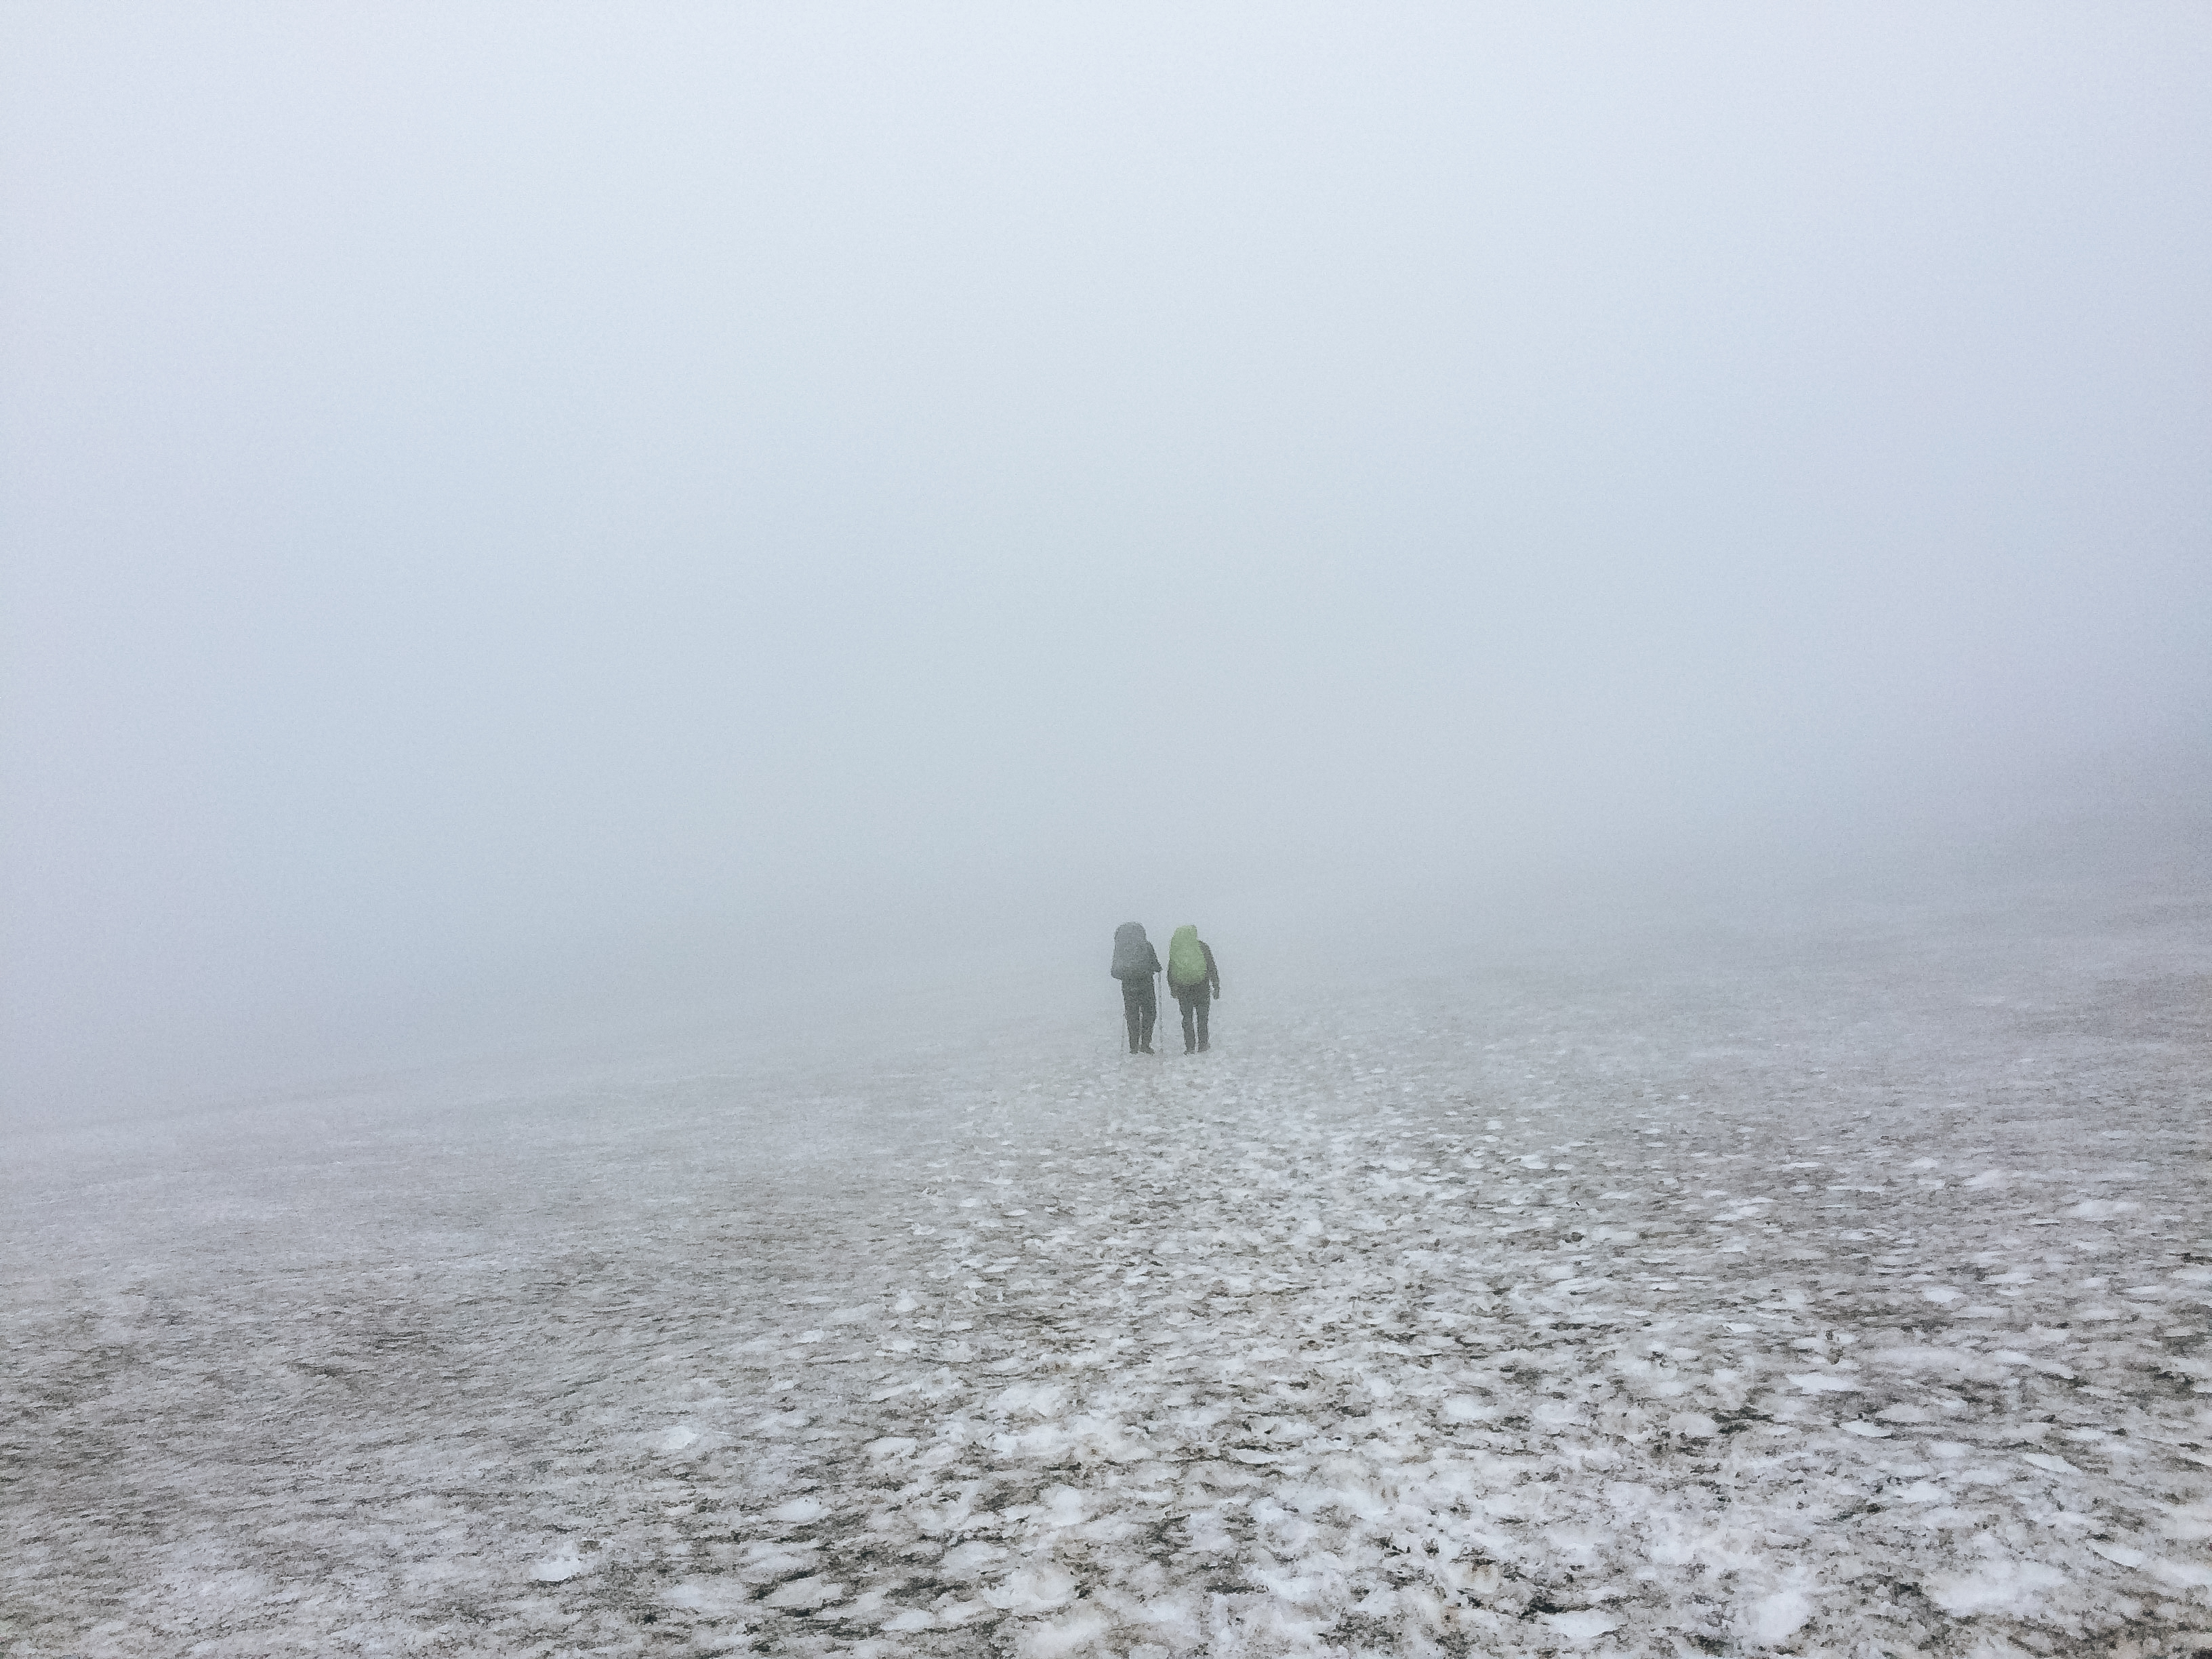
Warning: this is where the weather can get REALLY bad. Also important to note is your direction while crossing the snowfields. There are markers along the way, but can be difficult to see in snowy or rainy conditions.
The snowfields were the hardest part of the entire hike. The weather was harsh – a foggy haze and spitting mist. I had all of my warm layers on including rain gear, and I kept slipping in the snow. We couldn’t see very far ahead, making it difficult to follow the trial. Thankfully we could stay on track by spotting the carins. Otherwise I think this is a dangerous part of the trail where some hikers have lost their way.
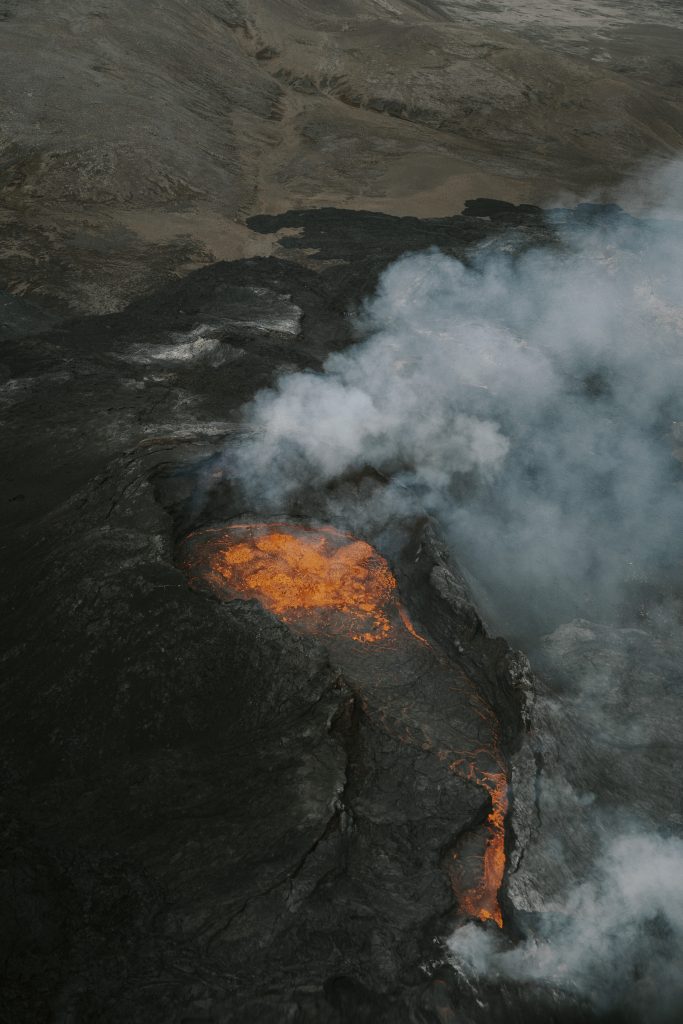
Towards the end of the snowfield, you will find the new craters and lava from the Eyjafjallajökull eruption 2010. These craters were given the names Móði and Magni – lookout for signs so you won’t miss them. We didn’t have time to stop as we were trying to make it back for our bus schedule, but you can walk up to the craters and I think the heat from the lava is still noticeable!
After the snowfields, we were relieved to be out in the open. We continued on through the barren landscape towards Thorsmork.
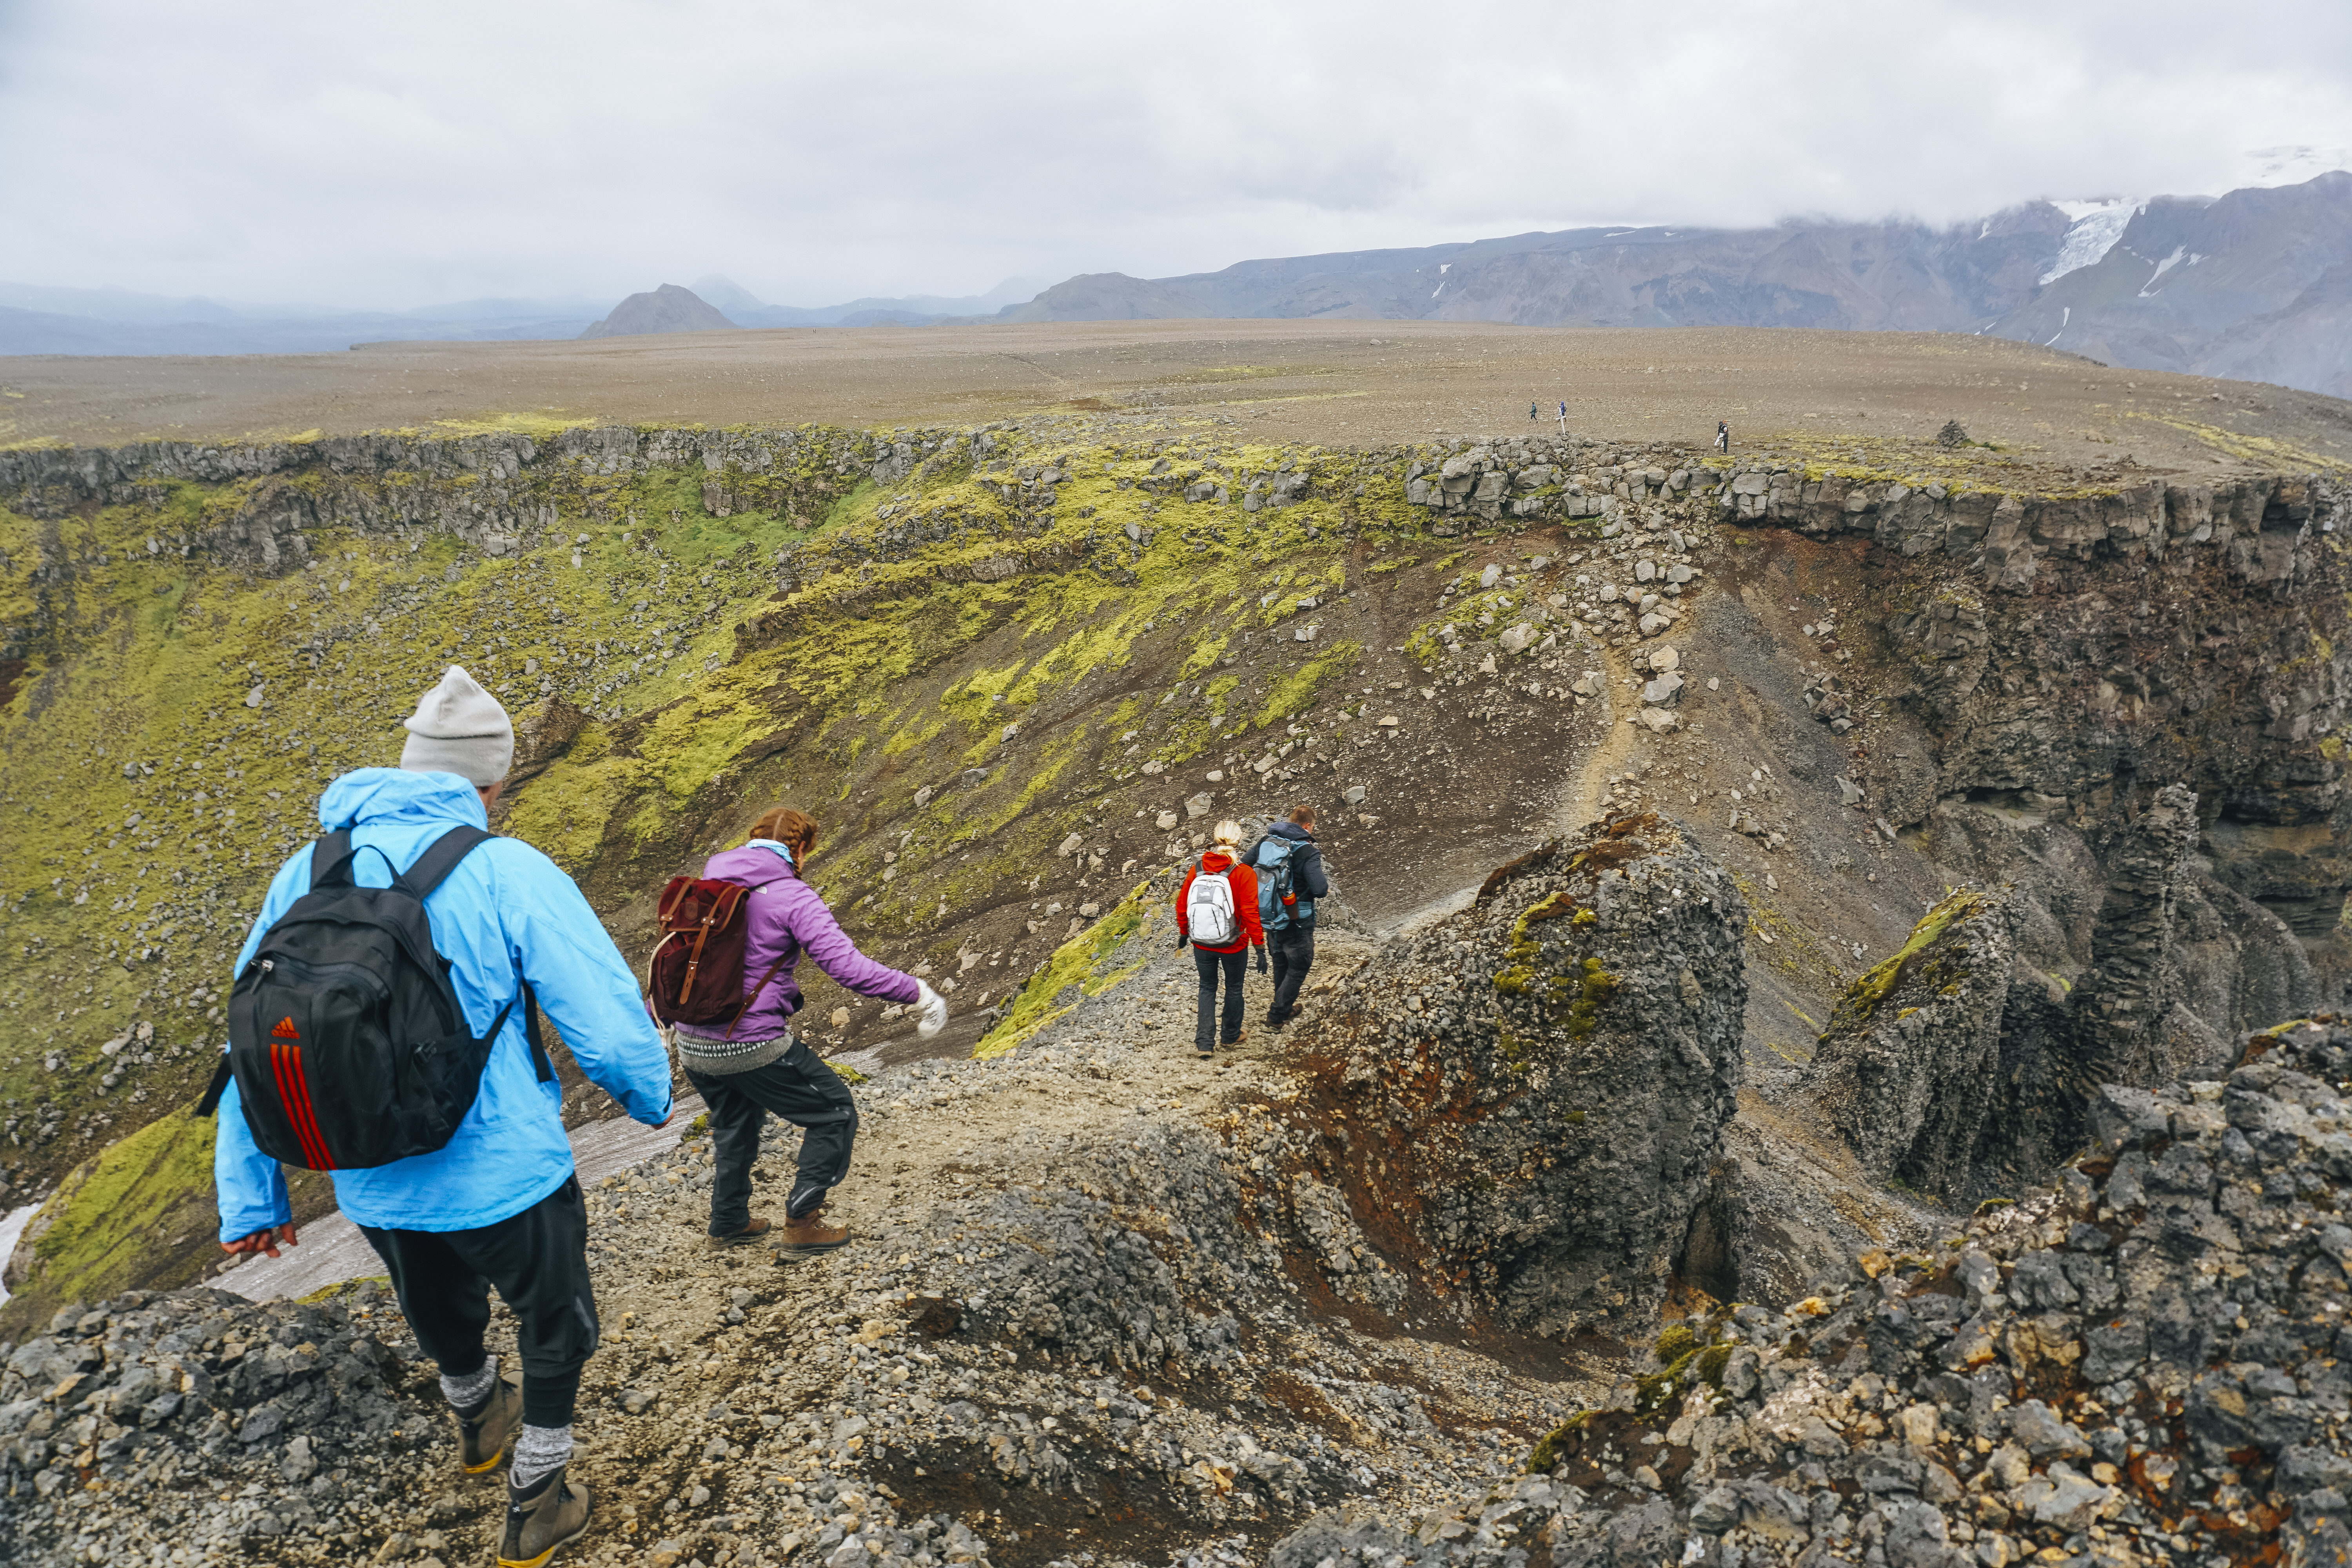
The final piece of this section is crossing of ‘Kattahryggur’ (the Cat’s Spine). It’s pretty narrow with a steep drop from each side – more terrifying than this photo captures!
Part 3
The highlight of the hike is when you reach the breathtaking scenery overlooking Thorsmork. The endless mountain ridges and valleys are like a fairytale come true!
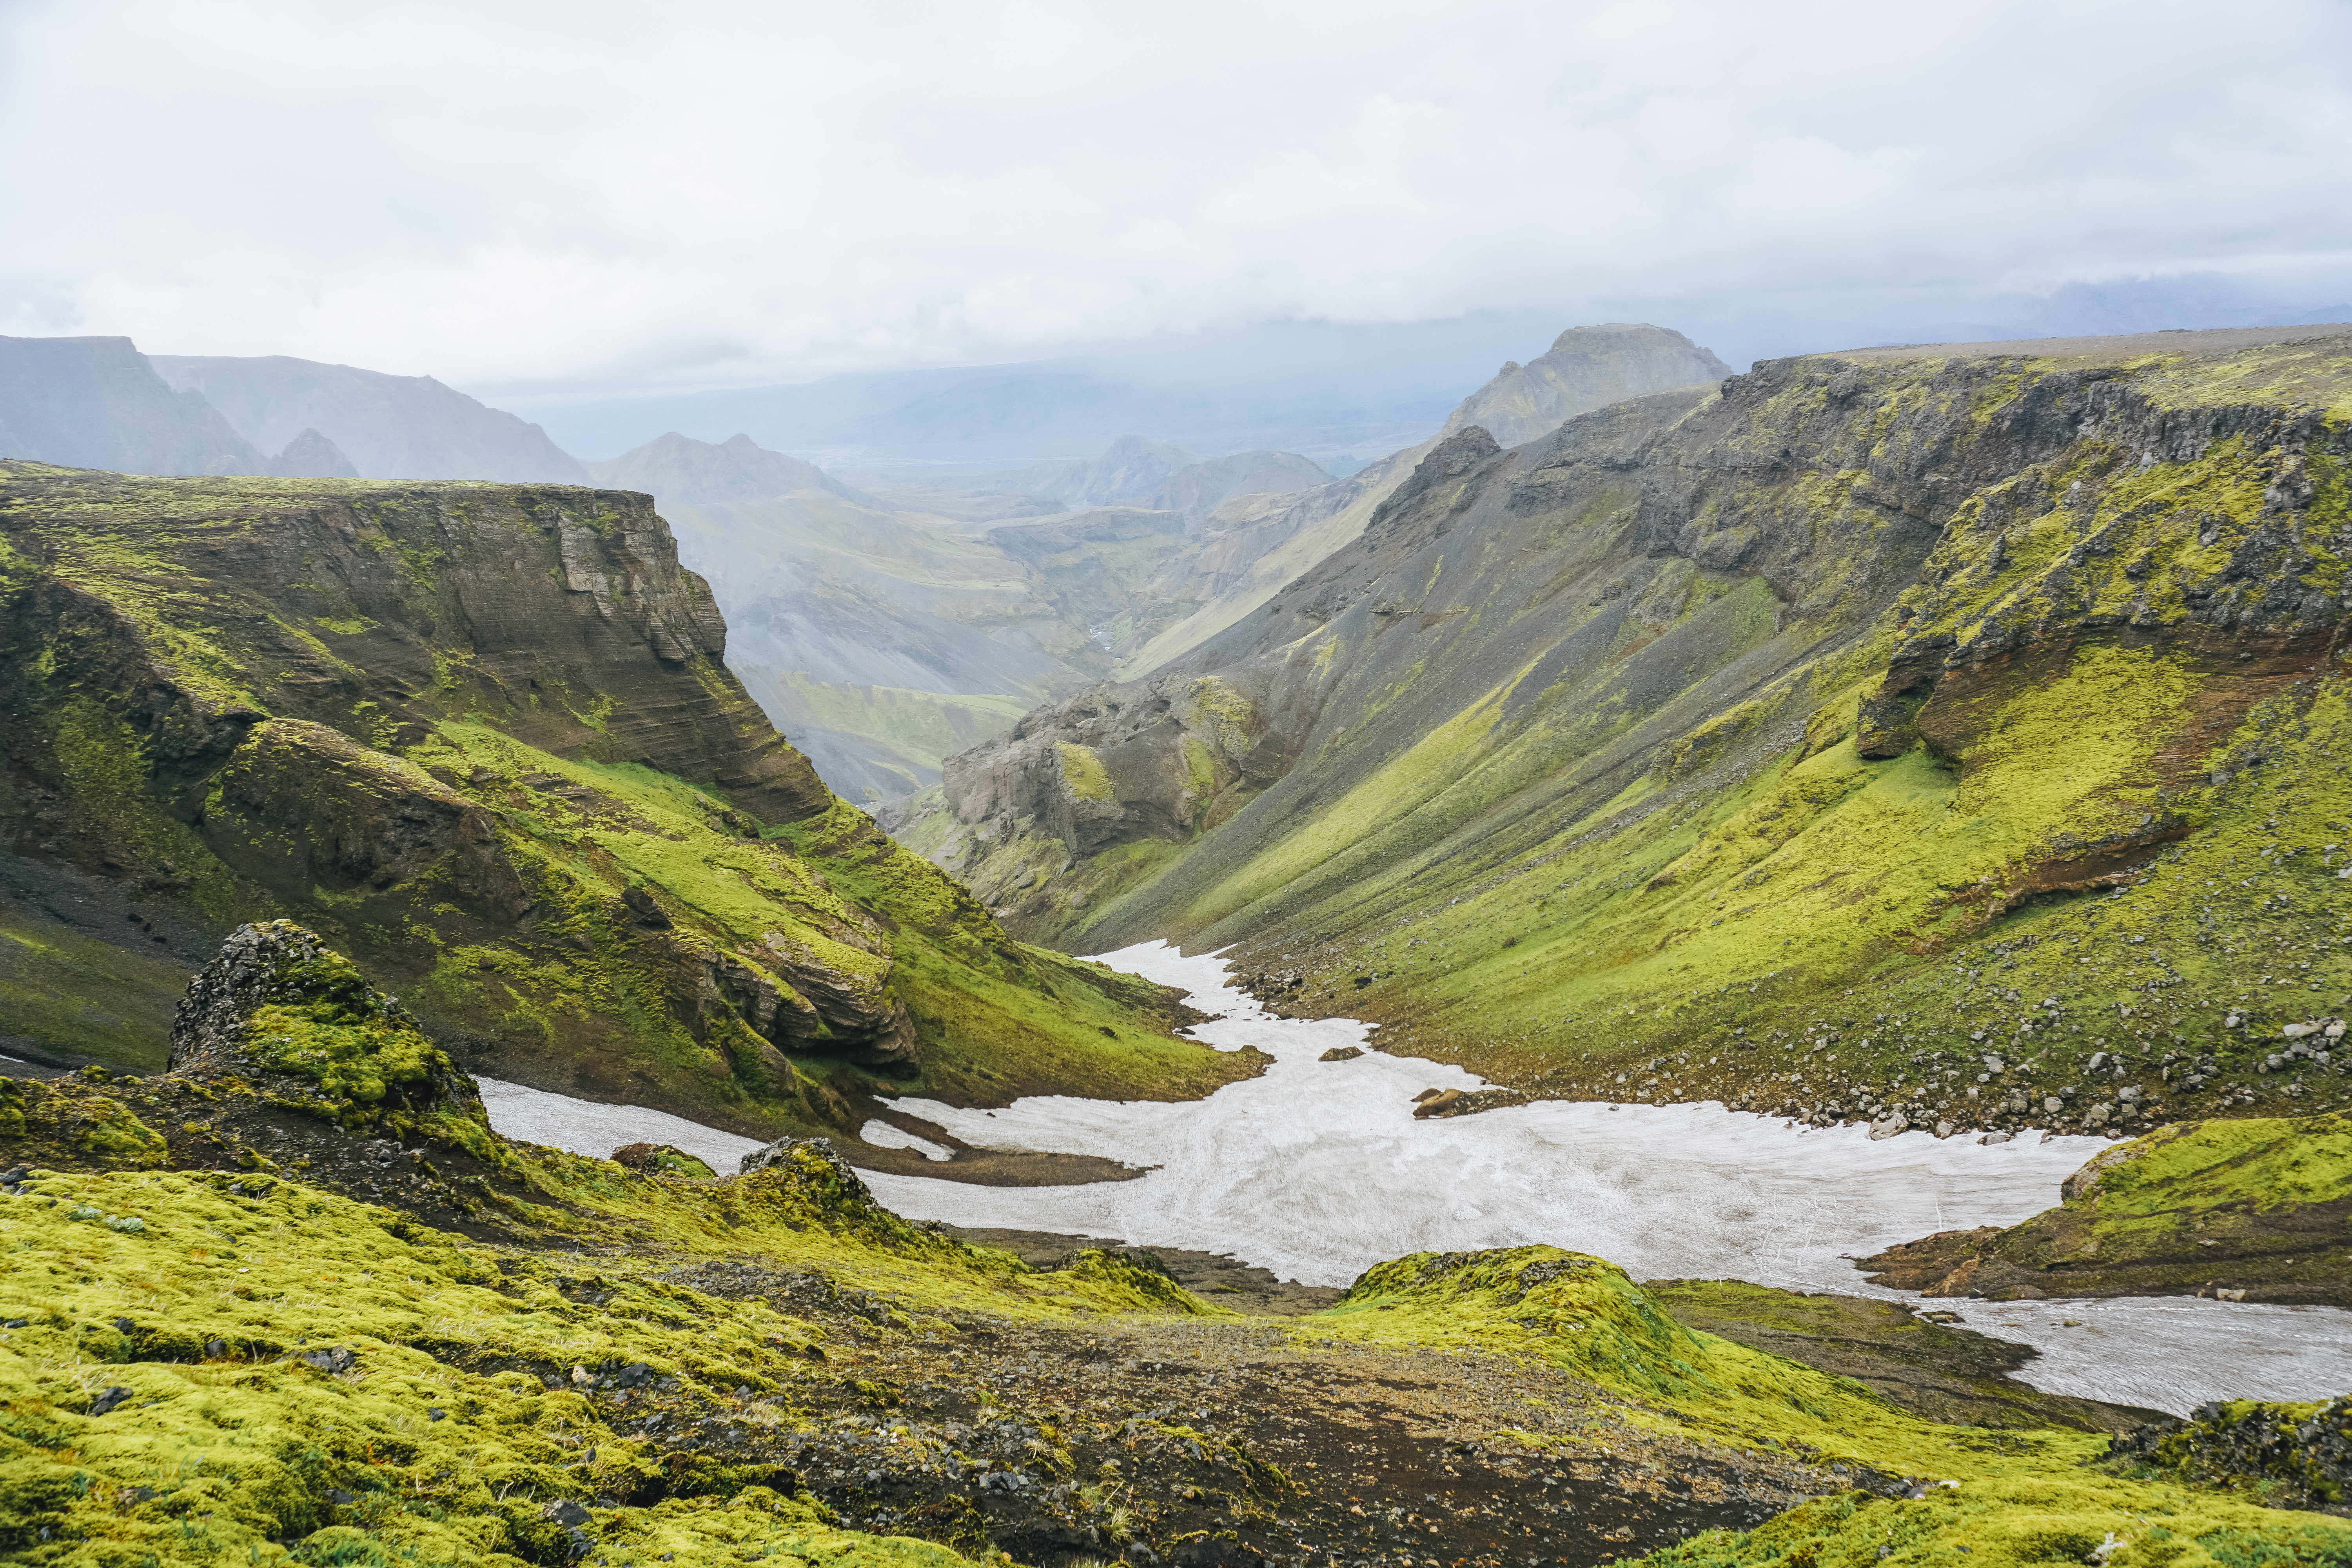
I swear the first time you see Thorsmork you think you’re in heaven! It’s so mountainous and green and beautiful, literally a hikers paradise!
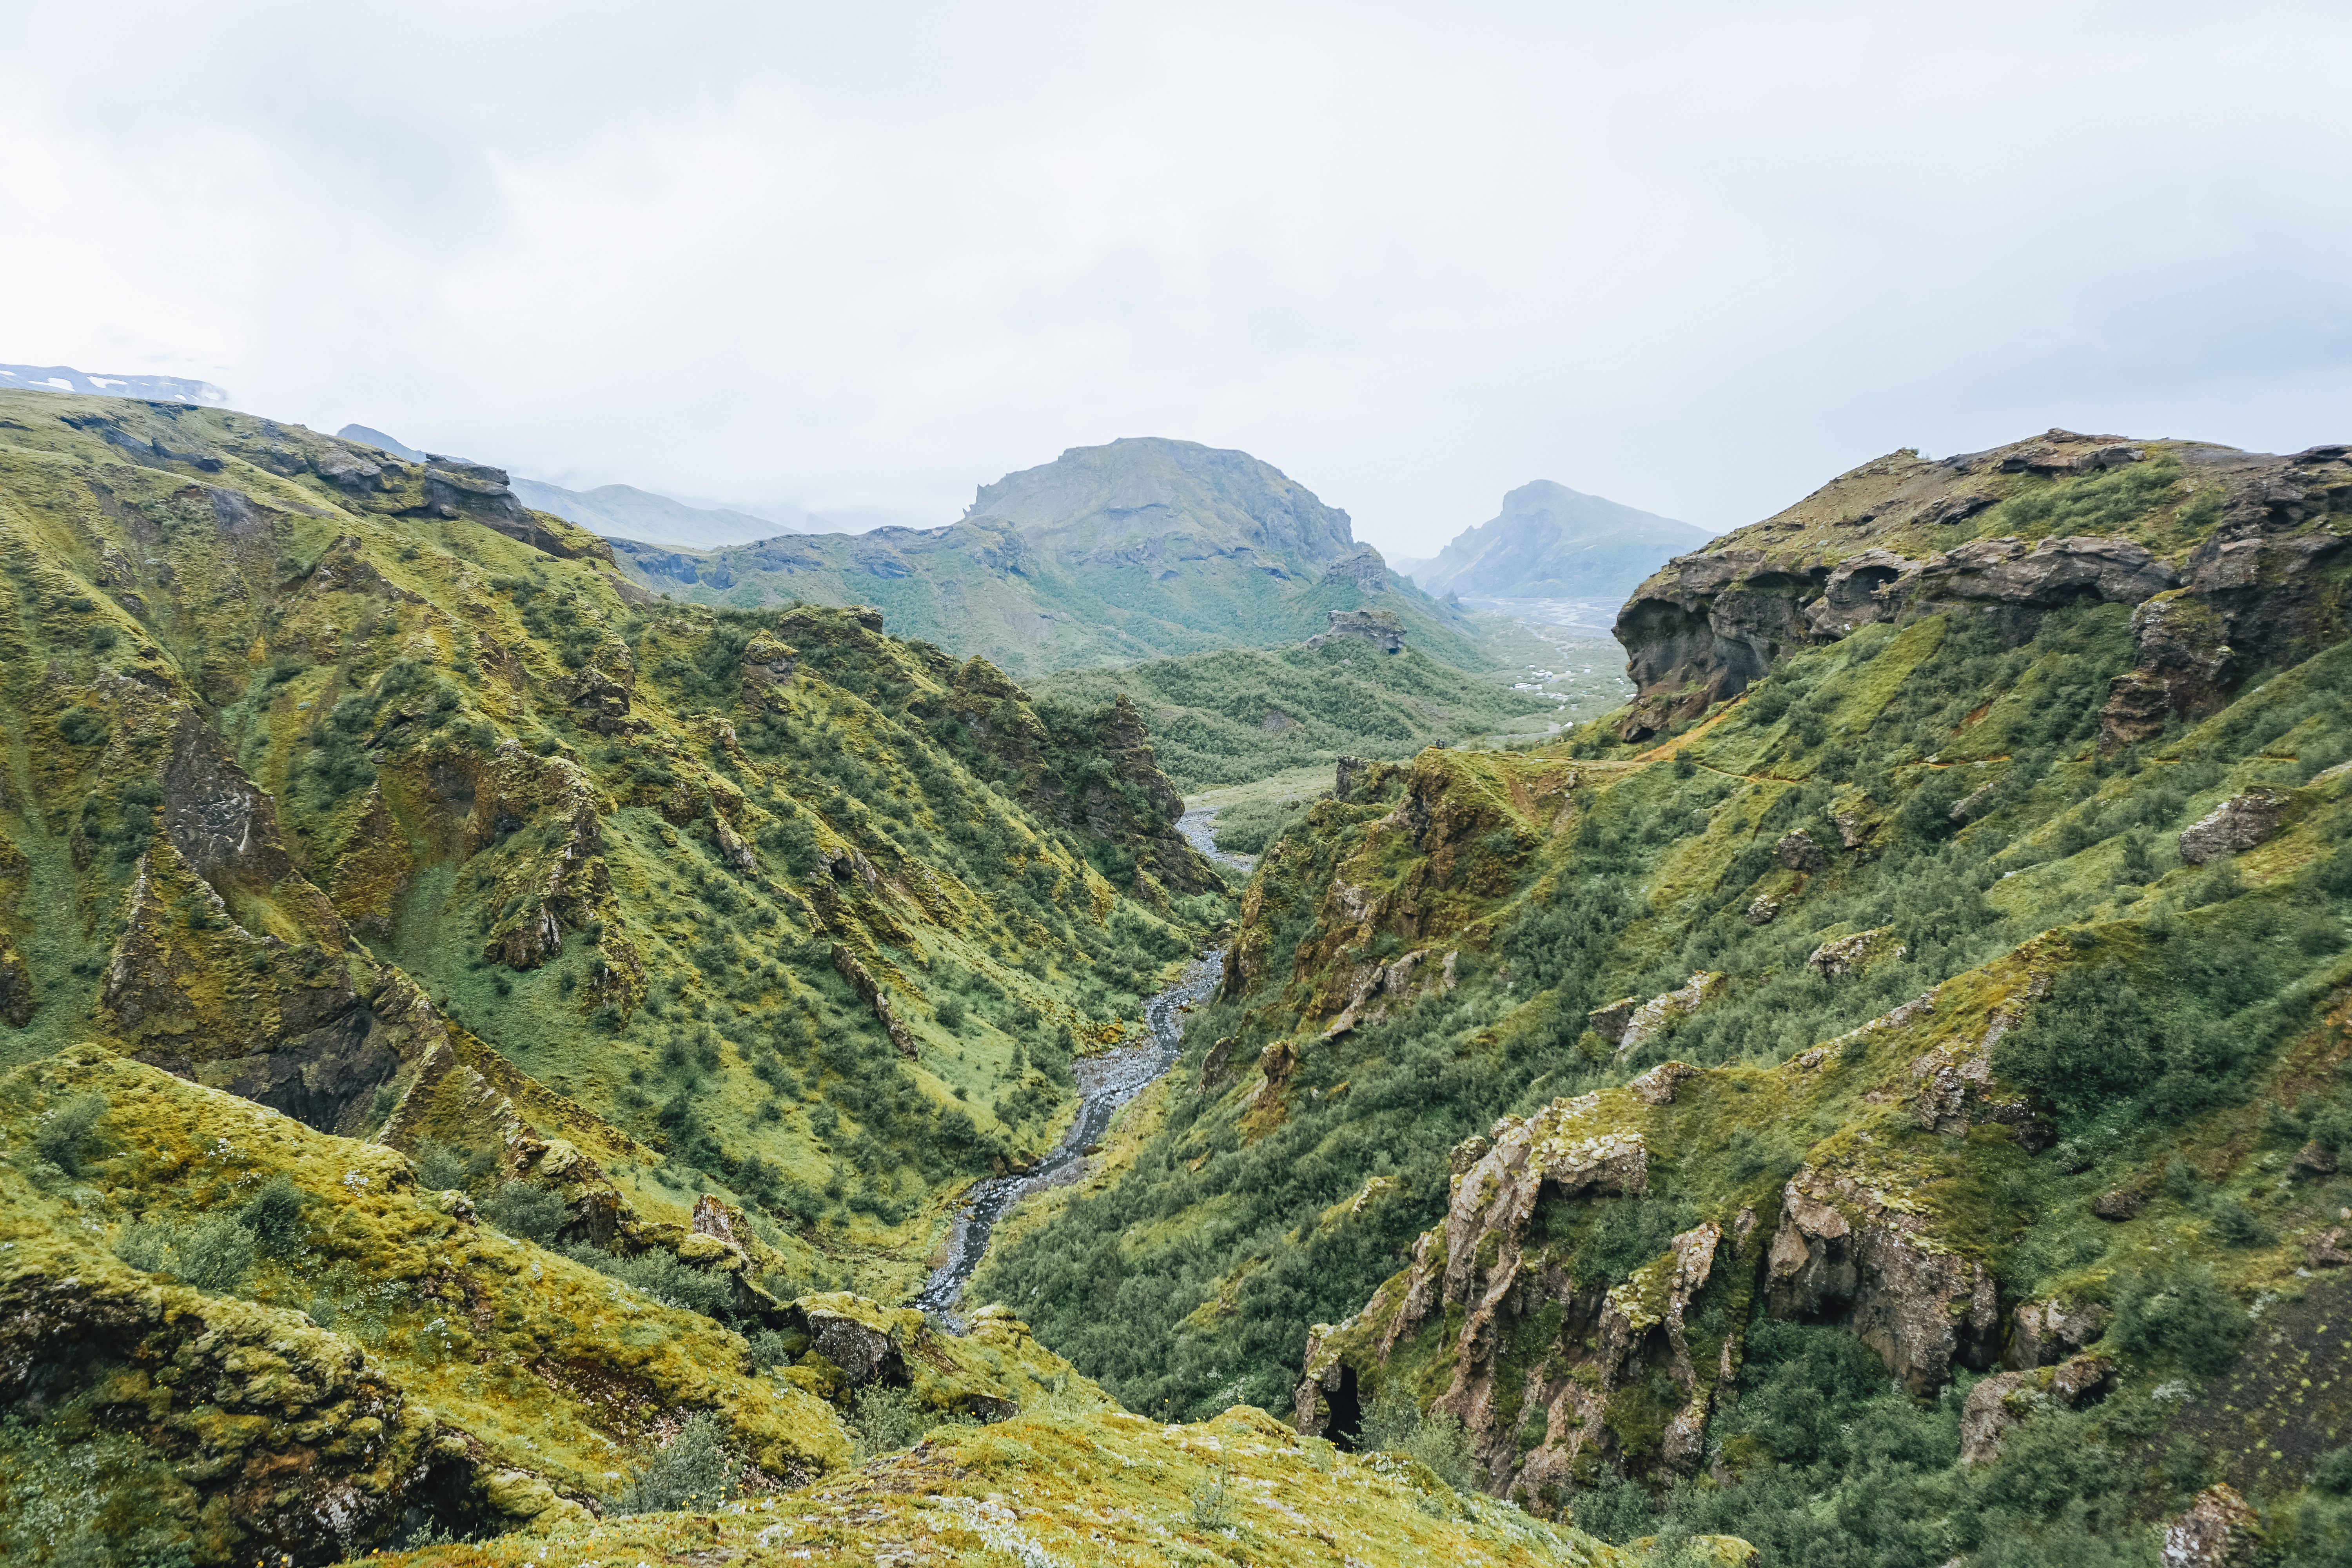
But the hike doesn’t end here. The steep descent into the valley kicks your quads, knees, and toes into high gear. But who can complain with 360 views like this?
What to bring on the hike
- LAYERS!
- Base layer, mid layer, insulating layer, weatherproof shell
- Rain gear – top and bottom
- Sturdy hiking boots
- Backpack
- Food – There are no stores along the route, and there isn’t even a cafe back at Basar. Be prepared with protein bars, trail mix, sandwiches, fruit leather, gel packs, etc.
- Reusable water bottle – there are plenty of places to fill up in the FIRST HALF of the hike, but not after you pass the bridge! I had a bottle + a camelback in my pack that came in handy later.
- First-aid kit – bandaids and vaseline are KEY to prevent blisters!
- Hiking poles – not essential, but there are parts that get pretty steep both up and downhill and poles are nice to have
- Crampons (optional) – provide a sturdy grip when crossing the snow fields, just allows for faster walking!
- Hat & gloves – YES even in the middle of summer!
- Sunglasses
- Camera – check out my complete camera gear checklist
Alternate hiking routes
- To the bridge and back to Skogafoss – 16 km round trip
- Start in Thorsmork and end at Skogafoss (I’ve heard people say they prefer one way or another, but it’s really what works best for you! Ultimately they are both going to be gorgeous.)
- Laugavegur trek – 4 extra days into Landmannalaugar
After the hike
- Stay in Thorsmork – If you’re exhausted from the hike and have your camping gear with you, it’s possible to stay in Thorsmork. I recommend staying at the lovely Volcano huts – just make sure you reserve your spot ahead of time!
- Take a bus out – Sterna, Trex, and Reykjavik Excursions all offer transportation from Thorsmork to Seljalandsfoss (1 hour ride ~4500 ISK/$40).
Final thoughts
This is a serious hike, so I would recommend experienced hikers attempt to do the whole trek in one day. Of course you could always hire a guide or split it up into two days to make it easier.
Even though we did it in 8 hours, I would have preferred taking more time to enjoy the scenery and stop for photos.
DO IT!
NEED HELP PLANNING YOUR ICELAND TRIP?!
I’d love to help you plan the best Iceland trip ever! Check out my Travel Guidebooks + Maps for the do-it-yourself traveler, or I can plan a custom trip if you’re too overwhelmed with all the options!
Happy planning,

Pin it for later!
