I know you guys have seen those beautiful, magical, silky waterfalls coming down the cliff side in Iceland, and you might be wondering to yourself, “Hmm. I like that photo. How can I do it myself?”
Well, you my friend are in luck, because today, I’m here to tell you all about it, how you can get that photo for yourself, hanging on the wall when you get home, and be like, “Yeah, I’m a professional photographer.”
Three-minute Tip Thursday. Let’s get into it.
It’s so funny, because at first, I didn’t like the look of this silky waterfall, because I was like, “That’s not how the waterfall looks.” Like, when you look at a waterfall. You can literally see the water falling, and when you take a photo of it, it snaps it. It freezes it in time.
So it took me a while to come around to the silky waterfall thing. I remember having this conversation with my friend, Kristi, and she was like, “Just give it time. You’ll like it one day.” Dammit, she’s right, because now, I can’t live without silky waterfall photos. I love them. They are my favorite. So today, we’re talking about how you can get yourself your own silky waterfall photo, the gear you’re going to need, and the setup on your camera, and everything. So, this is going to be a breeze.
Are you guys ready? Let’s get into it.
So there are a few things that you’re going to need, gear-wise.
THE GEAR
Camera
First thing is you’re going to need a camera with manual settings (the one I use). Unfortunately, unless they come out with an app sometimes soon, smartphones do not capture the silky waterfalls, because you need to be able to change the camera settings manually. So the first thing you’re going to need is some kind of camera that does that.
Tripod
The second thing you’ll need is a tripod (my favorite). Absolutely critical if you want to get those silky photos, because that’s going to keep your camera stable, so that the water looks like it’s flowing, and it’s not blurry. Just like we talked about in the Northern Lights video, you need to have a tripod to stabilize.
Shutter release
Next up, not critical, but highly recommended, I do recommend a shutter release. This is a shutter release, and all it does is lets me push a button, without even touching my camera, and the shutter will close by itself. So handy, because then you don’t have to worry about anything messing with the movement, or anything like that. Just an easy …
Polarizing filters
Last but not least are polarizing filters. Polarizing filters are nice for a little bit more sunny or brighter days. So what it’s going to do is it’s just going to tone down that sun exposure. If there’s any light reflecting from off the water, anything like that, then the polarizing filter just kind of puts, like, sunglasses on, so that you’re able to get an even better photo. So when it’s really bright out, the sun is blaring, you have that washed-out, white sky, which you get a lot in Iceland, then you’re going to have a severely overexposed waterfall shot. Polarizing filter will just kind of put a little mask, put some little sunglasses on, and that really, really helps.

CAMERA SETTINGS
So, some cameras come with a shutter priority mode that’s already built in. If you’re really a beginner and you just bought a new camera, or you’re borrowing a camera from someone else, then you can just set the camera up on your tripod, put it in shutter priority, and cross your fingers, and hope for the best.
But, if you do want to have a little bit more control over your shot, then I recommend putting the camera in manual mode. Now, when you put the camera in manual mode, you’re going to be able to control three main options, the ISO, the aperture, and the shutter speed, and all of that combination is what’s going to help you get the perfect, silky waterfall shot.
Aperture
Aperture is how big, like the pupil of the camera is, so how big or small the pupil of the camera is, and how big it opens. So, you want to start with aperture around f/16. Again, this is going to vary based on your lighting conditions, and everything like that, so I would recommend starting around that number, and decreasing it, so making the aperture smaller, as needed.
ISO
Next, you’re going to want a low ISO. So, this is going to allow you to have less noise in your photo. So ISO, if you have it too high, then it can make it look really grainy, and really kind of blurry-looking as well, so you want a really, really low ISO.
Shutter speed
This is going to really vary, depending on your lighting, and where you are, and what kind of waterfall you’re shooting, but in general, you want to start low, (meaning less seconds) and then you can build up as needed. But you’re going to know, because of how the water looks. So if it looks like it’s still getting pretty choppy, then you need to put your shutter speed a little bit slower.
So, those are my tips, the gear you need and the camera settings that you need, forgetting those beautiful, silky waterfall photos!
I hope you guys loved this video, and I would love to see your silky waterfall photos. So what you can do is you can share your photos using our community hashtag on Instagram, #icelandwithaview, so I can see all the beautiful work that you’re up to, and your silky waterfall photos as well.
Don’t forget to check out my recommended Iceland camera gear so you can bring the right stuff to get the best photos!!
As always, if you found this video helpful, make sure to give it a thumbs up, and also subscribe so that you can get alerts for future, awesome videos like this one!
Happy planning,

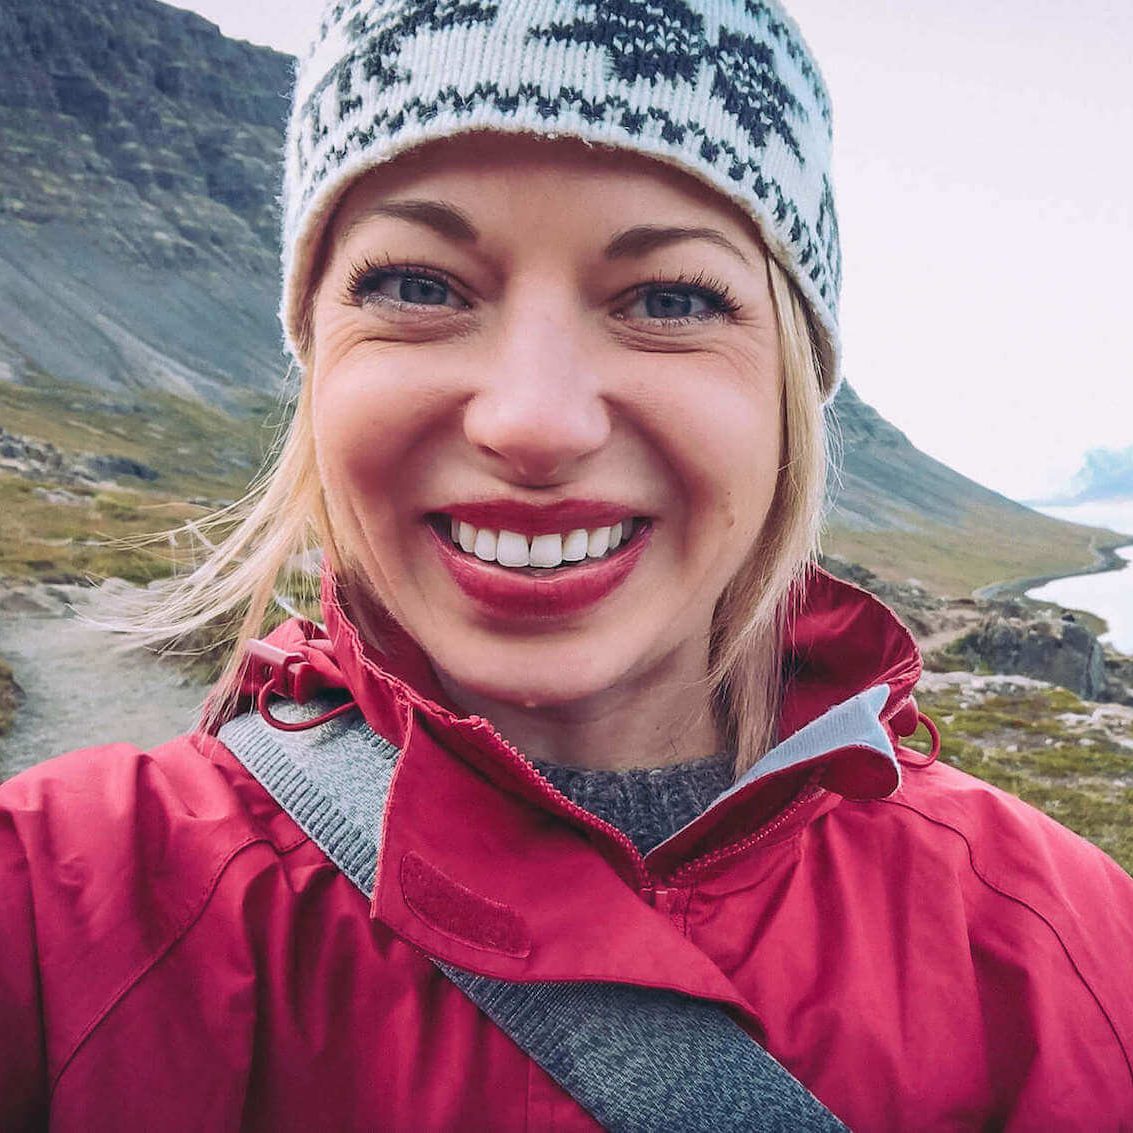
Jeannie is the founder of Iceland with a View, an Iceland trip planning resource she launched in 2015 after moving to Iceland. Having lived in Iceland for nearly 11 years, she shares firsthand travel advice through in-depth articles, guidebooks, maps, itineraries, and a YouTube channel with over 110,000 subscribers. Her mission is to help travelers confidently plan unforgettable Iceland trips with practical, experience-based guidance.