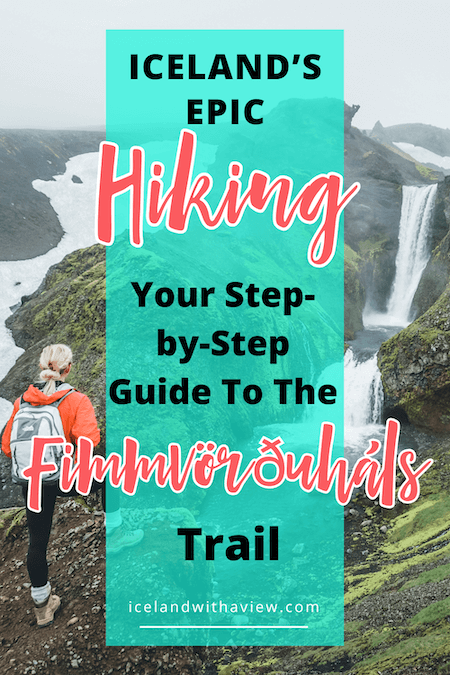
Brace yourself for some serious bragging rights, because the Fimmvörðuháls hike in Iceland is hard to beat!
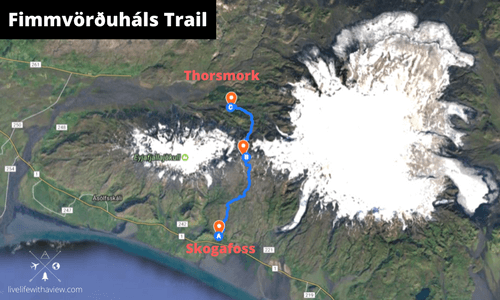
This epic trail takes you from the iconic Skógafoss waterfall to the lush valley of Þórsmörk, covering about 16 miles of gorgeous scenery that’ll knock your socks off!
Think endless waterfalls, glacier crossings, and even craters formed by a volcanic eruption.
If you’re a seasoned hiker looking for an unbelievable trail, this is it!
In this guide, I’ll break down every step of the journey, from planning logistics to trail highlights, so you can make the most of your Fimmvörðuháls experience.
Ready to tackle one of Iceland’s most iconic hikes?
Let’s get into it!
Table of Contents:
- Is the Fimmvörðuháls (Fimmvorduhals) Hike in Iceland Worth It?
- Best Time of Year to Tackle the Fimmvörðuháls Trail
- How to Get to Fimmvörðuháls
- The Fimmvörðuháls Hike
- What to Do After the Hike
- Alternative Hiking Routes
- Preparing for Your Hike
- Looking for More Hiking Trails in the Highlands?
- Get the Highlands Travel Guide
Is the Fimmvörðuháls (Fimmvorduhals) Hike in Iceland Worth It?
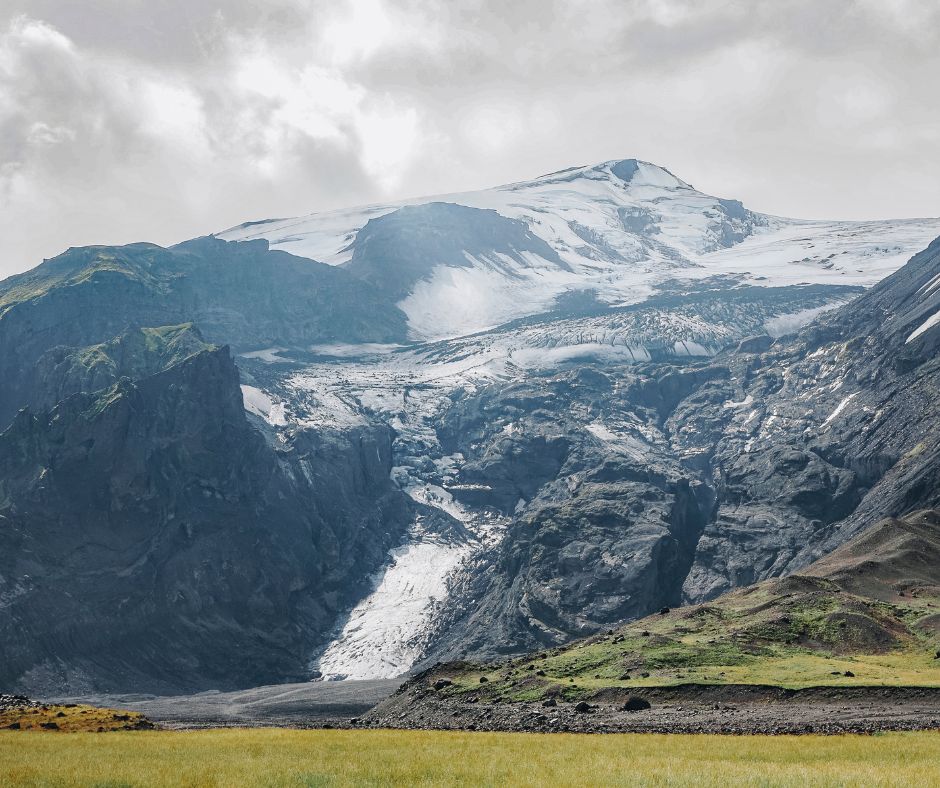
I’ve done some beautiful hikes in my life, but nothing compares to this.
Located in the southern Highlands between Eyjafjallajökull and Mýrdalsjökul glaciers, the Fimmvörðuháls trail passes through the most dramatic scenery in Iceland.
And that’s saying something!
This hike is definitely challenging and not for the average person.
But if you’re an avid hiker, the sense of accomplishment and incredible views make every step worth it!
Best Time of Year to Tackle the Fimmvörðuháls Trail
Timing is everything when it comes to planning your Fimmvörðuháls hike!
The best time to go is between June and early September. Outside of this window, you’re likely to come across snow and rough conditions that make the trail unsafe or impassable.
(Fimmvörðuháls in the winter is definitely a no-go!)
This trail runs through Iceland’s Highlands, where temperatures are much colder than at the coast.
Even in the height of summer, you can expect it to be around 40°F (5°C).
You might start your hike feeling warm, but conditions can change fast.
Always check the Fimmvörðuháls weather forecast before hitting the trail.
One thing I’ve learned from hiking in Iceland is that if you underestimate the weather, you’ll regret it!
Warm clothes and waterproof gear are a MUST for this trip.
To help you avoid packing mistakes, I created a FREE Iceland Packing Guide. It’s got everything you need to stay comfortable and prepared, from layering tips to seasonal checklists and recommended items for your trip.
Download your FREE PDF now!👇
How to Get to Fimmvörðuháls
Figuring out the best way to get to and from Fimmvörðuháls can be pretty confusing, so let’s talk logistics.
When I did the trek, we left Reykjavík really early in the morning.
While that’s one option, I highly recommend staying closer to Skógafoss the night before so you can hit the trail first thing.
Option 1: Drive Yourself (Bus + One Vehicle)
If you’re driving yourself and only have one vehicle, you’ll need to park at your starting point – let’s say Skógafoss.
The tricky part is that after hiking all the way to Þórsmörk, you’ll need a ride back.
Since Þórsmörk is in the Highlands and accessible only by F-Roads, you can’t just call a taxi or walk out.
You’ll need to arrange bus transportation in advance, whether you’re starting or finishing your trek there.
But here’s the catch:
Buses from Þórsmörk don’t go directly to Skógafoss. Instead, they drop off at Seljalandsfoss.
Why? I have no idea, that’s just how it is!
You could park at Skógafoss, hike to Þórsmörk, and then figure out a way back to your car from Seljalandsfoss.
Or, get picked up at Seljalandsfoss, be driven into Þórsmörk, and start your hike there, finishing at Skógafoss.
Another option is to check the Reykjavik Excursions bus schedule going from Þórsmörk to Seljalandsfoss and then Seljalandsfoss to Skógar to get your vehicle. Then drive back home to Reykjavík or continue on the Ring Road.
It’s a bit of a logistical puzzle!
Summary of how it’ll work:
- Use a bus to cover one leg of the journey.
- Option A: Park at Skógafoss, hike to Þórsmörk, take a bus back to Seljalandsfoss (then hitchhike or find a way back to your car).
- Option B: Take a bus from Seljalandsfoss to Þórsmörk and hike back to Skógafoss.
If you’re driving in the Highlands, you need to rent a 4×4 vehicle. I always go with Blue Car Rental.
They know Icelandic road conditions, include insurance, and offer 24/7 roadside assistance.
Book using this VIP link for 5% off at checkout!
Option 2: Take Two Vehicles if You’re Traveling in a Group
If you’re traveling in a group, using two vehicles can make things easier.
Here’s how we did it:
We met at Seljalandsfoss, left one car there, and then drove together to Skógafoss to start the hike.
We planned to be at Basar by 6 pm. We pre-purchased our tickets and caught the bus to Seljalandsfoss. Then drove back to Skógafoss.
Summary of how it’ll work:
- Take two vehicles and leave one at each end of the trek.
- Start by meeting at Seljalandsfoss, drive together to Skógafoss to begin the hike.
- Complete the trek at Þórsmörk, take the bus to Seljalandsfoss, then take the second vehicle back to retrieve the first one.
Option 3: Take a Tour
If you prefer not to deal with logistics, book a guided tour!
Just show up and let them handle the rest!👇
➡️ TAKE A TOUR: Fimmvörðuháls Hike | Day Tour | Midgard
The Bus Companies
The main bus companies to check are Trex and Reykjavik Excursions.
Check their timetables carefully before you start your hike!
Buses don’t run late into the evening. On the day we did the hike, the last bus left around 6:30 PM, and we were really pushing it to make it in time.
The Fimmvörðuháls Hike
Distance: 13 miles/25 km
Time: 8-12 hours (can be done in one day, or split into two days – more on that below.)
Fimmvörðuháls hike difficulty: Challenging
Elevation: 3504 feet/1068 meters
What you’ll see: 26 waterfalls, 2 volcanoes, 2 glaciers 😍
Route: Skógafoss waterfall to Þórsmörk (or reverse – it works both ways!)
If you’re starting from Fimmvörðuháls north trailhead at Skógafoss, the hike kicks off at the top of the stairs and ends at Þórsmörk.
The Fimmvörðuháls trek is divided into three sections.
Here’s what to expect.
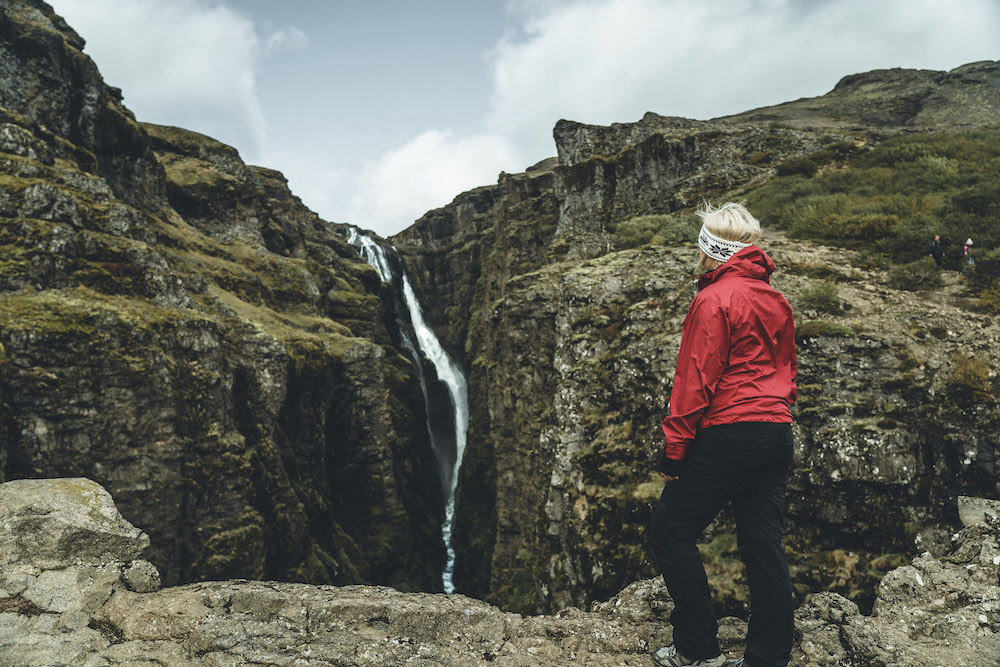
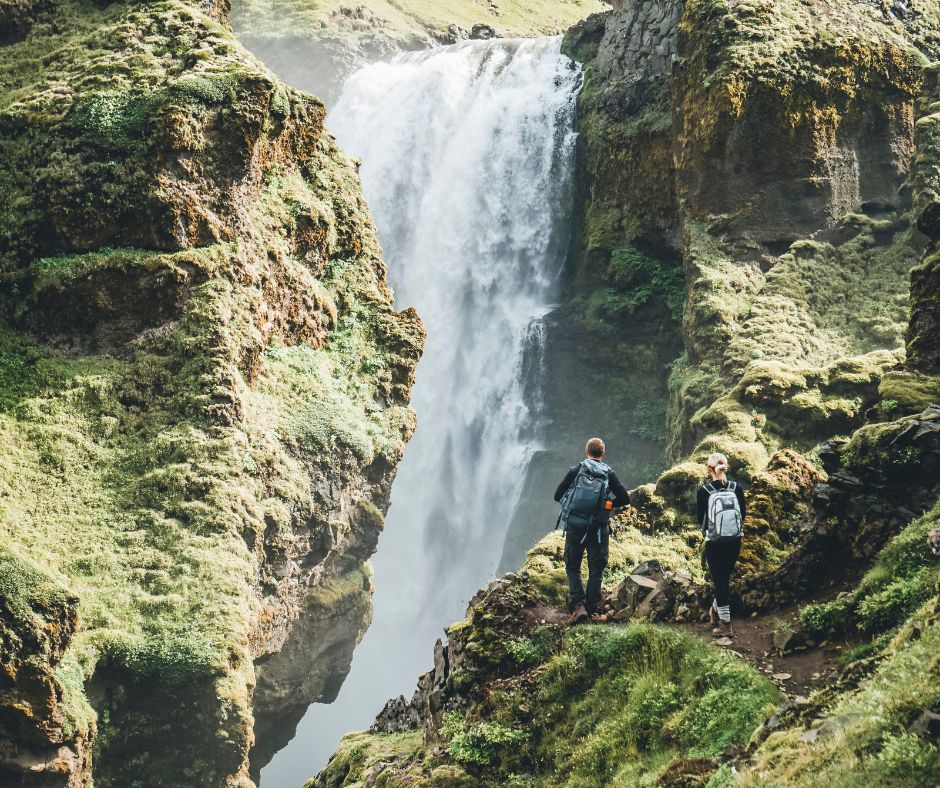
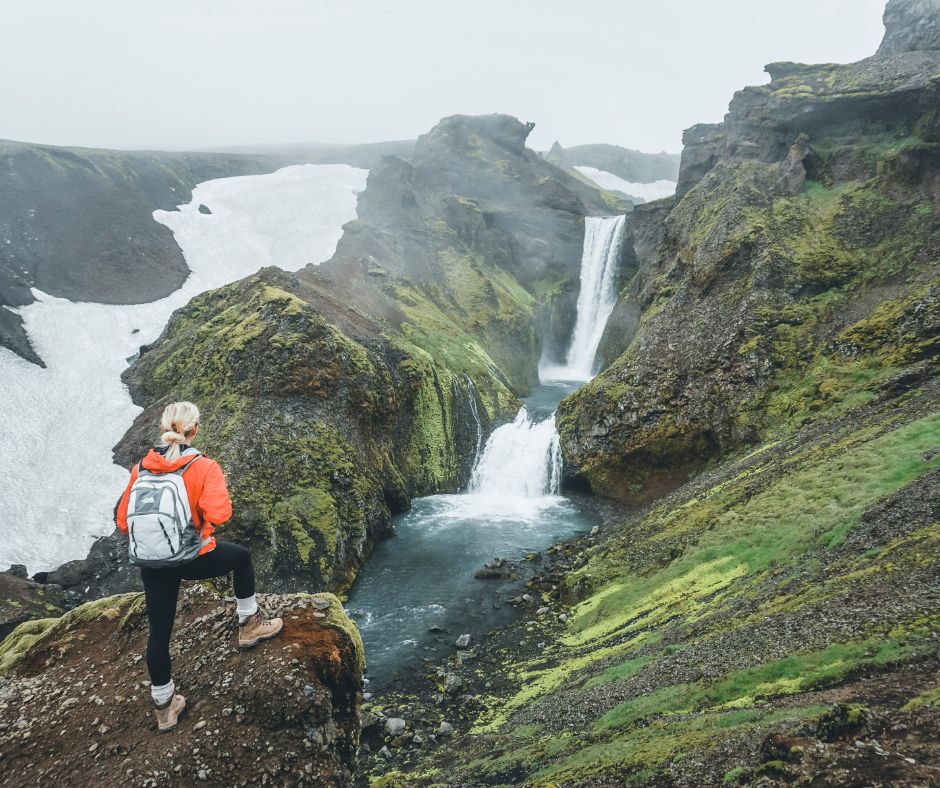
Part 1: Waterfall Way
The first part is known as “Waterfall Way,” and begins at the top of the stairs at Skógafoss.
Not only is Skógafoss beautiful, but the trek along the Skóga river passes twenty-six waterfalls through lush green hills.
Yep, you read that right…TWENTY SIX!
If you love waterfalls, then you’ll be in heaven during the first leg of this hike!
We were amazed by just how beautiful it was and kept stopping to take photos and appreciate the scenery.
(Make sure you factor this in when you’re timing your trip.)
This part is moderately difficult, except for a few steep peaks.
Pro tip: You can fill your water bottle from the Skógá River for the first 5 miles (8 km) of the hike
Halfway into the hike, there’s the Fimmvörðuháls Mountain Hut with open space for 20 people (read: A shared room with small mattresses on the floor!).
Some people choose to stop here, others are forced to because of the weather.
Note that there is no food or water in the hut.
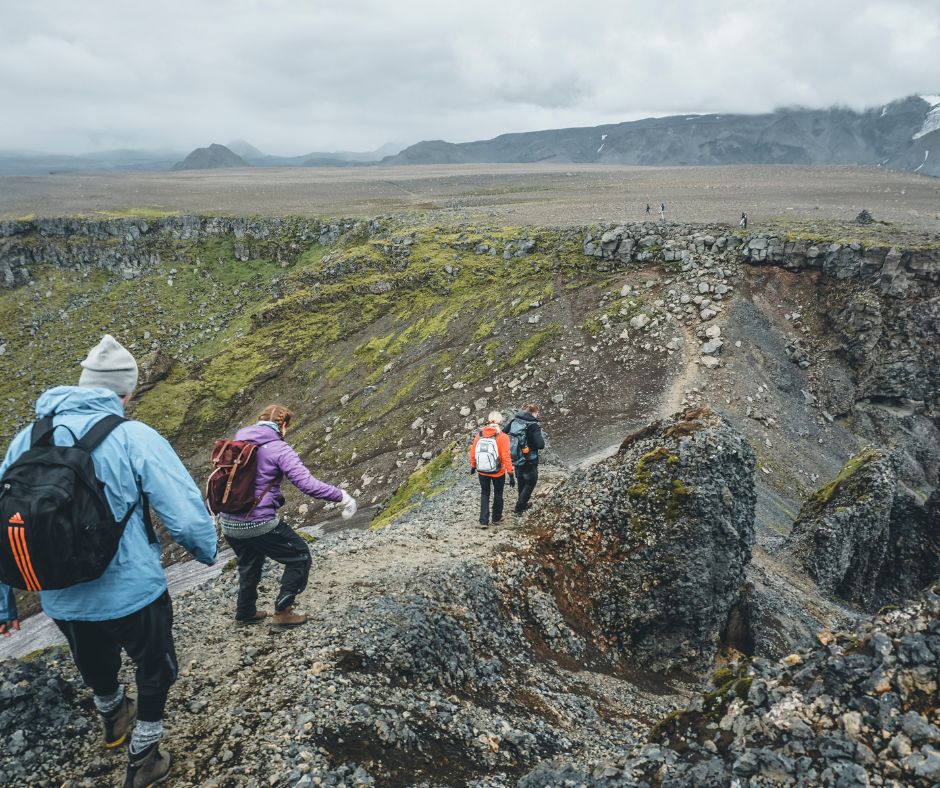
Part 2: Crossing a Glacier Field
After about 5 miles (8km), you’ll get to a bridge where you’ll cross the Skóga river.
This marks the start of part 2.
Once you cross the bridge, you’ll step onto a moon-like landscape, drastically different from what you’ve seen so far.
Here you’ll pass between Eyjafjallajökull and Mýrdalsjökull glaciers.
From this point, the weather can get really bad, and this was the toughest part of the hike for me.
It was harsh and foggy with a misty drizzle. Despite wearing all my warm layers and rain gear, I kept slipping on the snow.
Low visibility made the trail hard to follow, but thankfully, cairns guided us along the way.
Without those markers, this section could be dangerous. Some hikers have even gotten lost here!
Pro tips:
- Crampons are really helpful. We rushed this section, and I really wished I had extra grip on my shoes.
- Pay close attention while crossing the snowfields. Markers are there, but can be hard to spot in snow or rain.
Passing Móði + Magni Craters
Near the end of the snowfield, you’ll come across the new craters and lava from the 2010 Eyjafjallajökull eruption.
These craters are called Móði and Magni – keep an eye out for signs so you don’t miss them.
We didn’t have time to stop since we were racing to catch our bus, but you can actually walk up to the craters. I’ve heard you can still feel the heat from the lava!
After crossing the snowfields, it was such a relief to be out in the open again. From there, we continued across the barren landscape toward Þórsmörk.
Kattarhryggur (The Cat’s Spine)
The final piece of this section is the crossing of Kattarhryggur, also known as the Cat’s Spine.
It’s very narrow, with a steep drop on both sides, so be careful.
It can be terrifying!
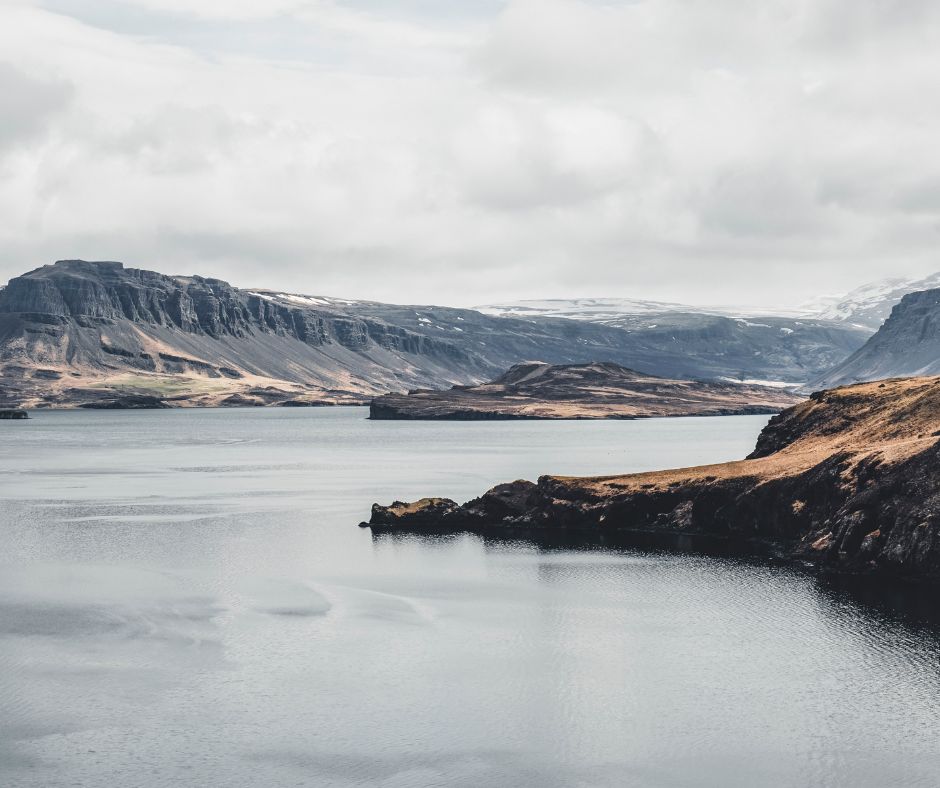
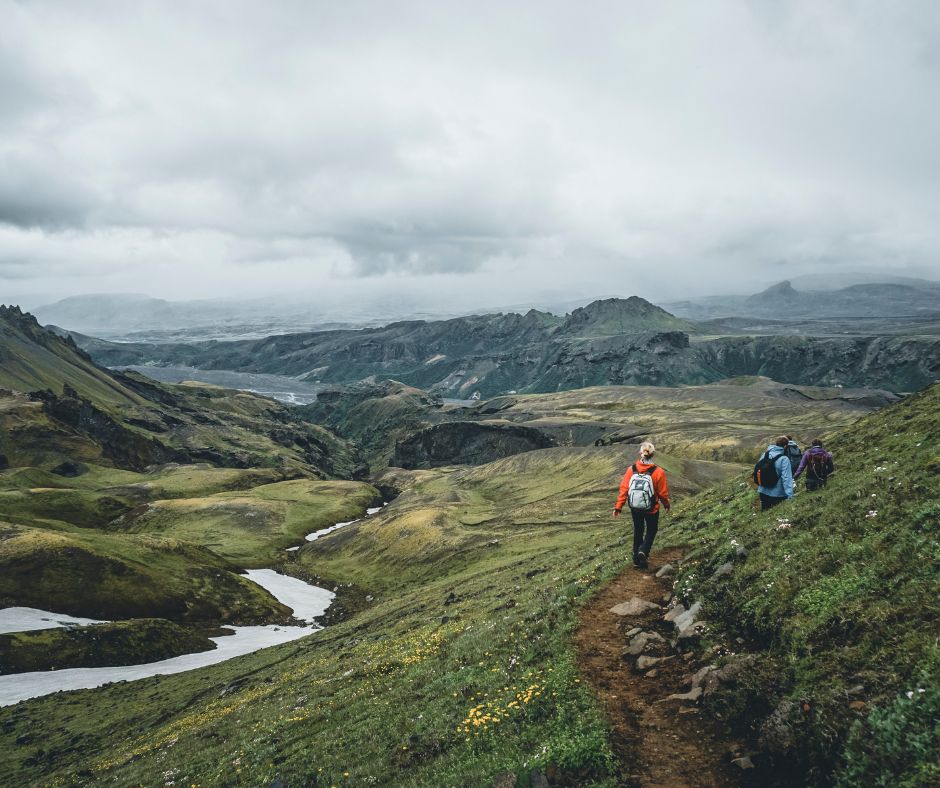
Part 3 – Arriving in Þórsmörk (Thorsmork)
The highlight of the hike is when you cross the Cat’s Spine and arrive at the breathtaking view overlooking Þórsmörk.
The endless mountain ridges and valleys look like they belong in a fairytale book!
It’s mountainous, green, and beautiful. Quite literally a hiker’s paradise.
When you reach this spot, take a moment to soak it all in. After this, you’ll start your descent into the valley, and won’t be able to see everything as well.
The steep slope into the valley really works your quads, knees, and toes!
But with views like this, who’s complaining?!
We finished the hike in 8 hours, but honestly, I wish we’d taken more time to enjoy the scenery and stop for photos.
Want to learn more about Þórsmörk? Then, you’ll find this post helpful.👇
➡️ READ: Thorsmork Iceland: Expert Tips on How to Craft Your Dream Hiking Trip
What to Do After the Hike
Congrats, you’ve completed the hike! Woohoo!
Now, what’s next?
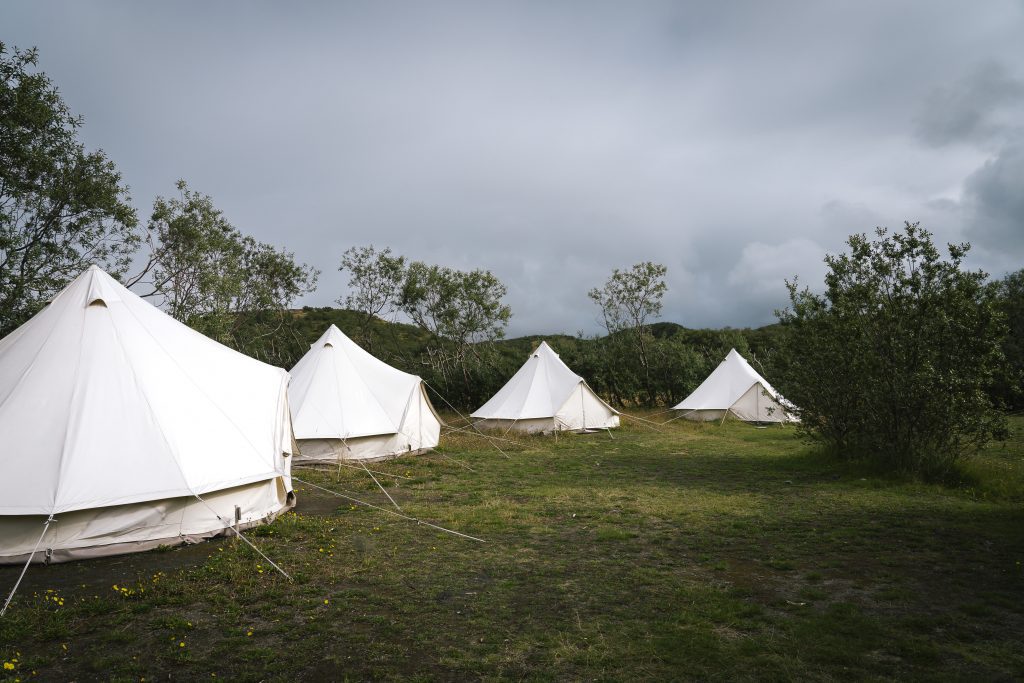
Stay in Þórsmörk: Fimmvörðuháls Camping + Accommodation
If you’re exhausted from the hike and have your camping gear, you can stay in Þórsmörk.
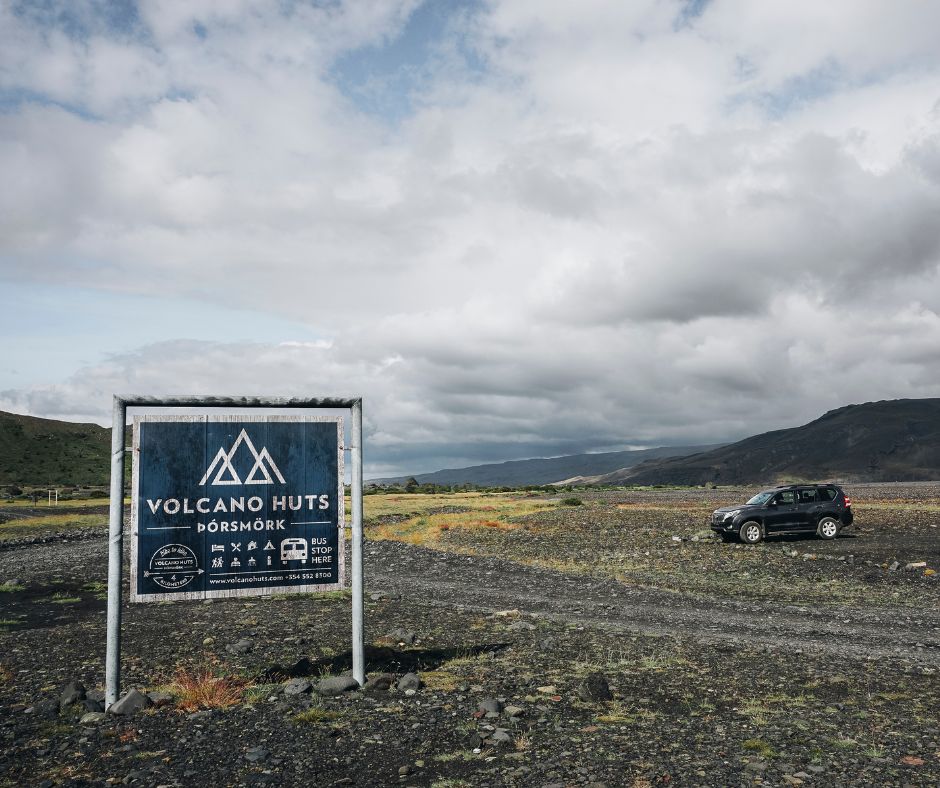
You’ll finish at the Basar base camp, where you could either catch a bus out or stay overnight. They offer both bunk and tent accommodation.
I recommend staying at the lovely Volcano huts nearby.
If tackling a Fimmvörðuháls day hike feels too ambitious, you could stay at the Mountain Hut
between Þórsmörk to Skógafoss that I mentioned earlier.
It’s a shared open room so you’ll be staying with other people.
Both the Volcano Huts and the Mountain Hut fill up fast, so you have to book well in advance.
Head Back Home
If you’re not planning to stay overnight, you can take a bus out.
Trex, and Reykjavik Excursions all run routes from Þórsmörk to Seljalandsfoss. The ride takes about an hour and costs around 4,500 ISK (approximately $40 per person).
Be sure to check the Fimmvörðuháls hike bus schedule when planning your trip.
Alternative Hiking Routes
If you’re already in the area and love hiking, this is the perfect chance to explore some of the best trails in Iceland.
Þórsmörk to Skógafoss
Try doing the hike the other way around, starting in Þórsmörk instead of Skógafoss. Some people prefer it that way, but honestly, both directions are stunning!
Hike to the Bridge and Back to Skógafoss
If you’re short on time, you can do just the first third of the Fimmvörðuháls trek, roughly 10 miles (16 km) round trip. This way, you still get a taste of the trail without committing to the whole thing.
Laugavegur + Fimmvörðuháls Multi-Day Trek
As a really cool bonus, you could add the Laugavegur trek to the end of the Fimmvörðuháls trail.
Laugavegur is another epic hiking trail that goes from Þórsmörk to Landmannalaugar.
It’s important to note that this trek is 34 miles (55 km) long, so people usually break it up into 4 days.
If you’re looking for the best hiking trails in Iceland, check out my top picks below.👇
➡️ READ: What Are the Best Hikes in Iceland? 13 Trails You Need to Explore!
Preparing for Your Hike
I can’t stress enough how important it is to be prepared for this hike.
Here’s what you’ll need.
Layers! Layers! Layers!: Bring a base layer, mid layer, insulating layer and weatherproof shell.
Hiking boots: Make sure your hiking boots are sturdy and well broken in to avoid blisters and sore feet!
Rain gear: Make sure you’re prepared for wet weather with this rain suit. (top and bottom)
Backpack: You’ll need a backpack for your food, layers, and rain gear. I recommend something that has a hip strap for more comfort.
Food: There are no stores along the route. There isn’t even a cafe back at Basar! Be prepared with protein bars, trail mix, sandwiches, fruit leather, gel packs, and salty snacks to refuel on your hike.
Reusable water bottle: There are plenty of places to fill up your water bottle in the first half of the hike, but not after you pass the bridge!
First-aid kit: Band-Aids and vaseline are KEY to prevent blisters!
Hiking poles: Not essential, but hiking poles are useful on steep sections, both uphill and downhill.
Crampons: Again, optional, but I wish I had them on the second leg of the trail. Crampons provide a sturdy grip when crossing the snow fields.
Hat & gloves: YES, you’ll need a hat and gloves, even in the summer!
Sunglasses: The sun can be sharp at times, and you’ll need these to protect your eyes from the glare.
Camera: You’ll want to capture those views, whether it’s your phone, a camera, or a GoPro – don’t forget it!
P.S. Get tips on taking stunning photos in Iceland, check out this post! 👇
➡️ READ: Photography in Iceland: Gear & Tips on How to Capture Stunning Photos
Looking for More Hiking Trails in the Highlands?
If you’re excited to try out more hiking trails in the Highlands, check out these blog posts:
👉 Kerlingarfjöll: Kerlingarfjöll: Explore A Hiker’s Paradise in The Highlands Of Iceland
👉 Landmannalaugar: Landmannalaugar: What You Need To Know For An Epic Highlands Adventure
👉 Hiking trails in Þórsmörk: Þórsmörk Iceland: Expert Tips on How to Craft Your Dream Hiking Trip
Get the Highlands Travel Guide
Have I inspired you to tackle the incredible trail that is Fimmvörðuháls?
Yes?!
I don’t blame you!
It truly is one of Iceland’s most unforgettable hikes.
Just make sure you’re well-prepared.
I’ll be honest, when I first visited the Highlands, I was completely overwhelmed. F-roads, unpredictable weather, and not sure of what to expect.
It felt like a lot!
If that sounds familiar, I totally get it.
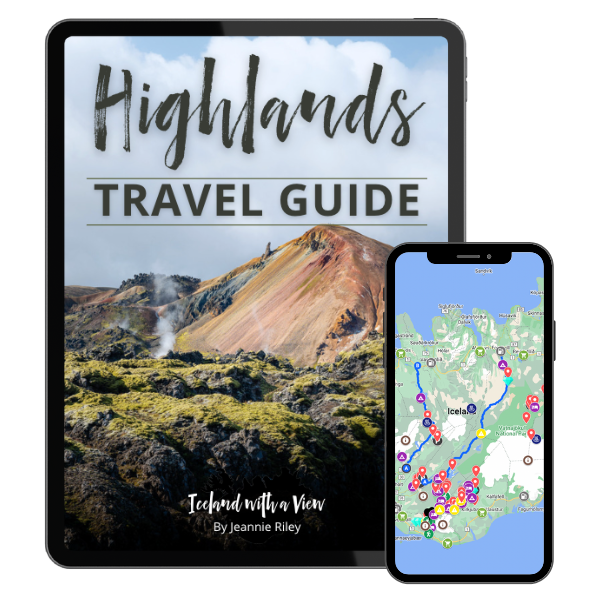
That’s why I created my 👉 Iceland Highlands Map + Guide.
Because I don’t just want you to visit the Highlands, I want you to experience them with confidence, and leave feeling like you’ve made the most of them!
This guide is full of region-specific, must-see attractions and hidden gems. I’ve also included planning checklists, itinerary tips, money-saving hacks, and so much more.
The digital map has hundreds of pinned locations, from popular sites to practical places like gas stations and restaurants. Trust me, this alone is worth it, especially in the Highlands!
Don’t travel to the Highlands without this.
Take the guesswork out of planning to Iceland’s most difficult area to travel to. This Travel Guide will help you plan an unforgettable Highlands trip from start to finish.
Take a look at what Alice H. had to say:
“I like to know ahead of time exactly what I’m doing. This guide helped me plan how I was going to get there and what my options were once there. I used it in my itinerary. Great buy.”
If the Highlands are calling your name, but the logistics are holding you back, then my
💥 Iceland Highlands Map + Guide is your answer.
👏 Can’t wait to see you on the trails! 👏
Happy Planning!

Pin it for later!